


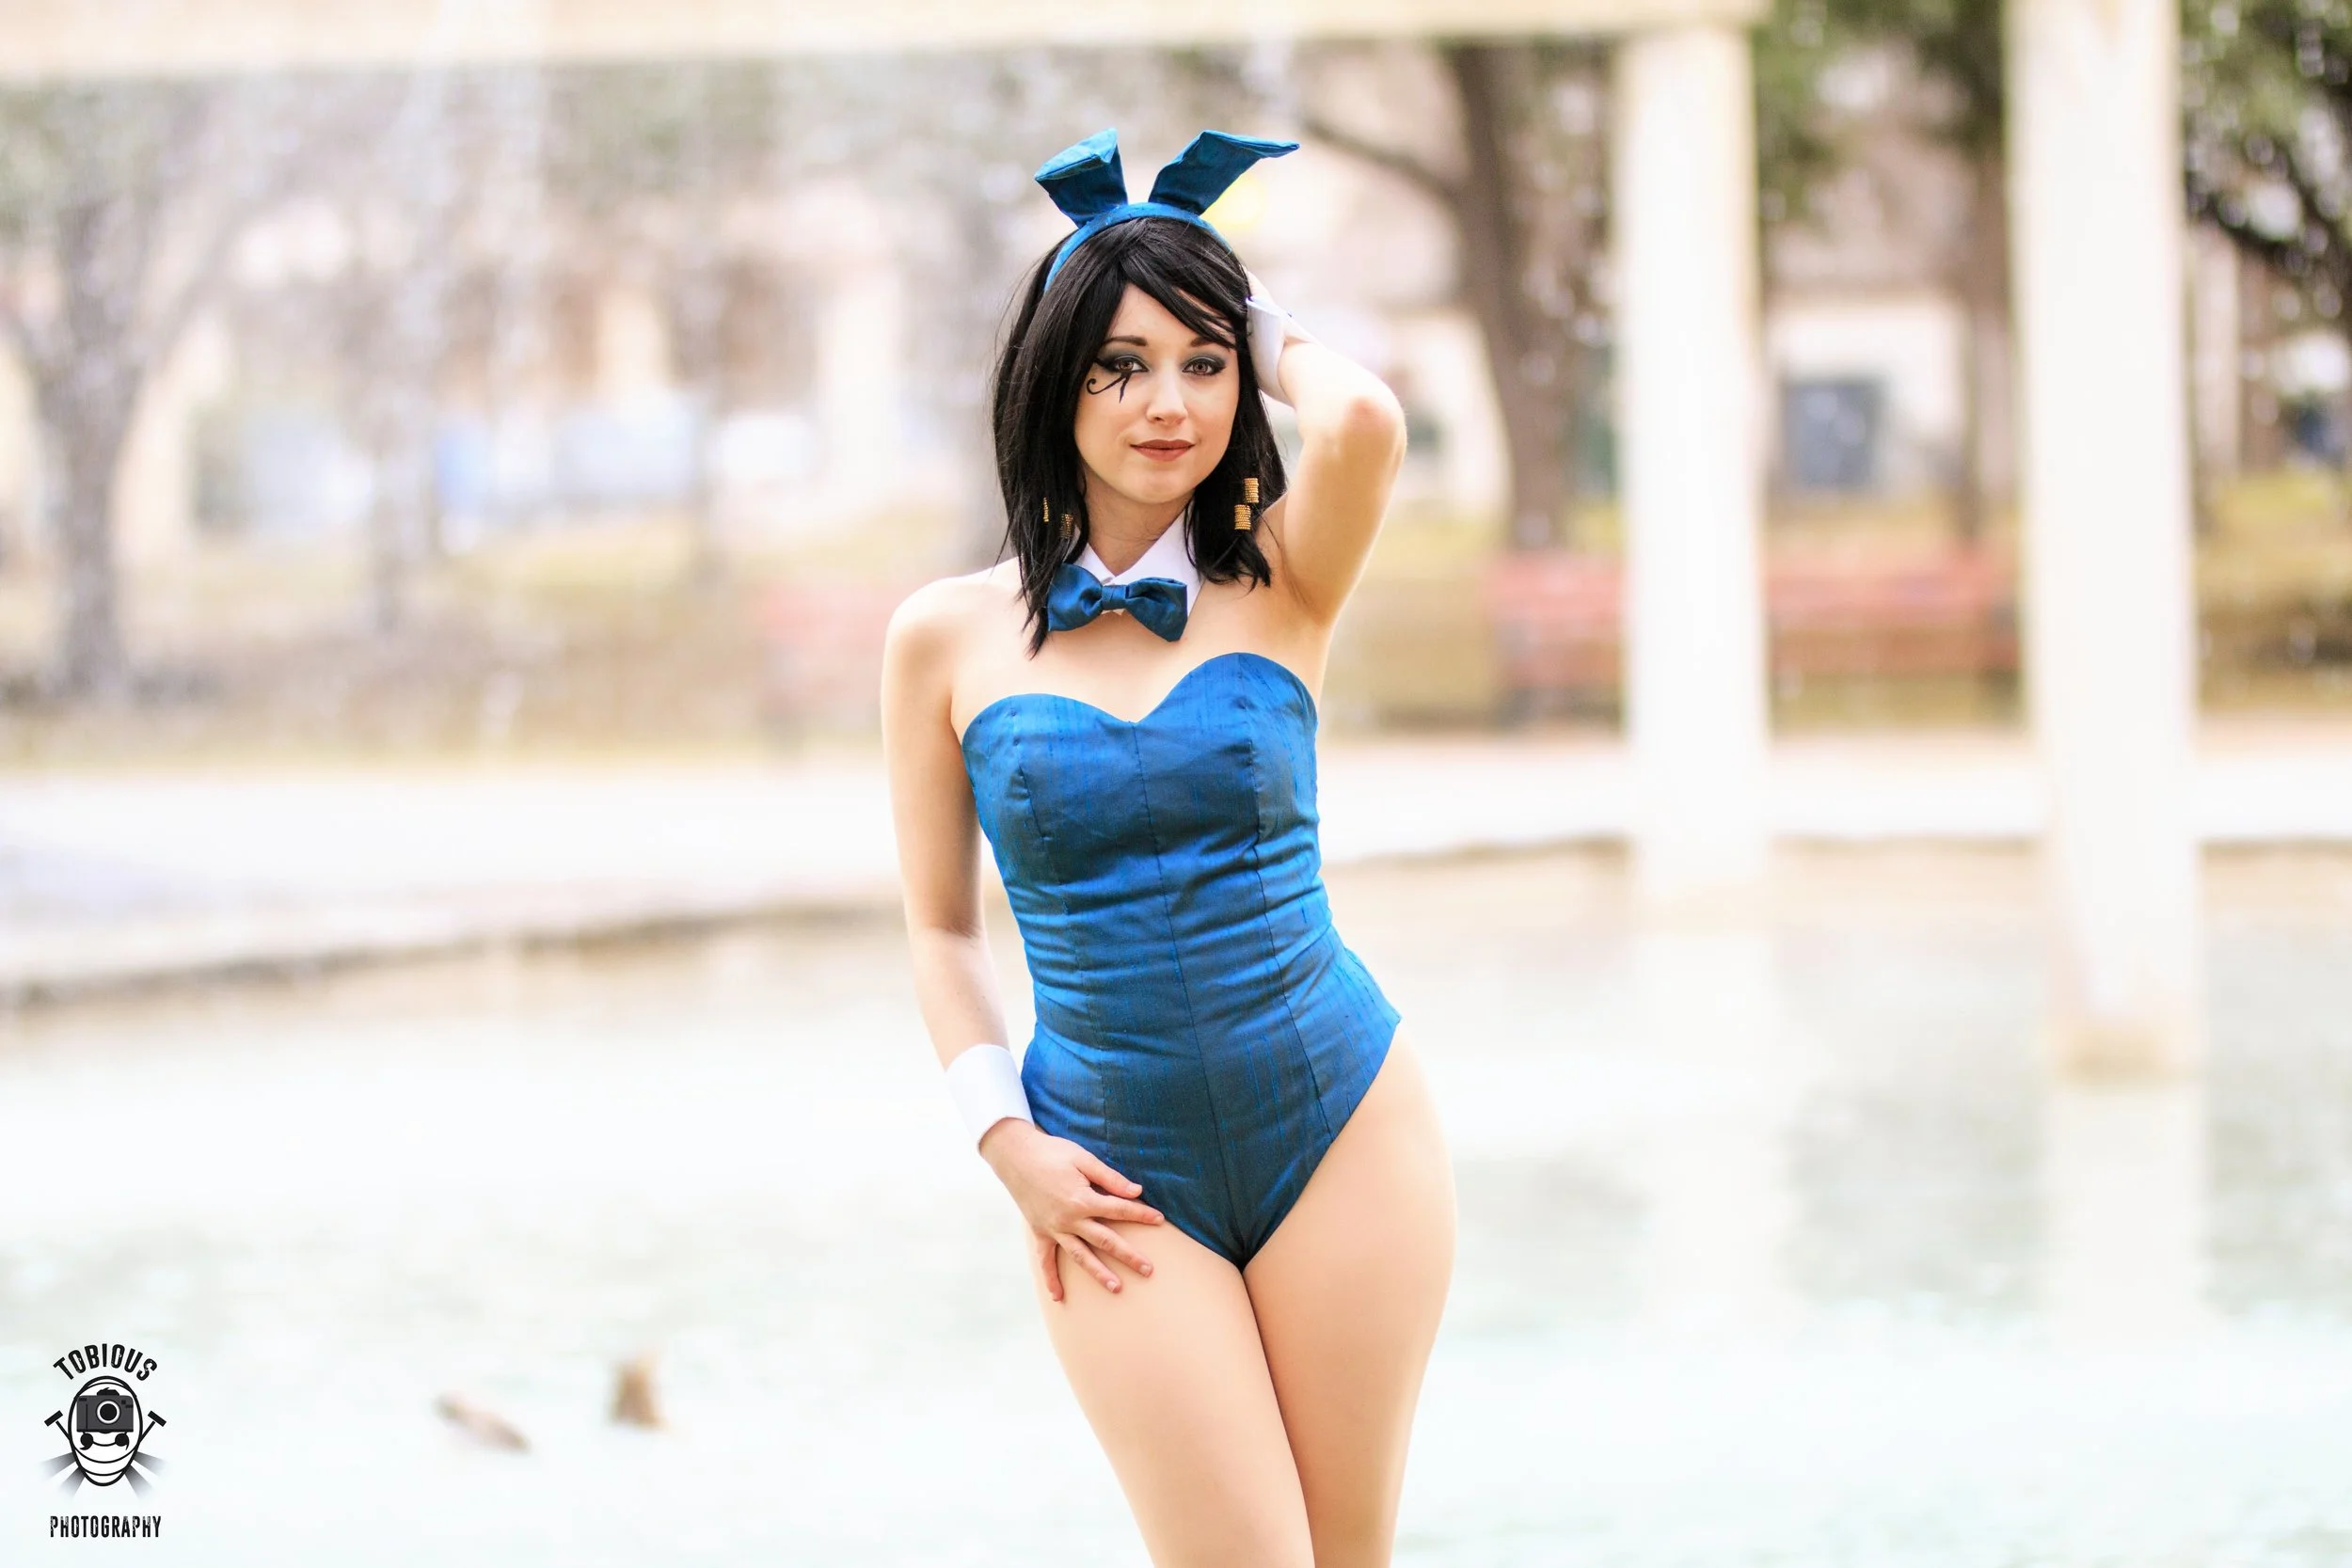

Bunny Pharah from Overwatch
PAX South 2017
Photos by Tobious Photography
MATERIALS
- Cotton
- Silk Dupioni (Purchased from Silk Baron)
- Dress Shirt
- Faux Fur
- Beads
- McCalls M7398 pattern
PROCESS
I've always wanted to make a bunny suit! They seemed so challenging and fun, but was afraid to try and make a pattern myself. When Yaya Han came out with a pattern, I knew it was time to tackle the suit. This was made for a big bunny suit Overwatch group at PAX South!
Although classically made of satin, I personally didn't like the super shiny look for the suit and looked at other options, finally settling on silk dupioni. With dozens of blues to choose from Silk Baron, I went with a gorgeous blue shot with olive to allude to Pharah's mech suit and give a little dimensionality to the look. I'd never sewn silk before, so it was a new challenge! I underlined the silk in green cotton I had lying around and went with black cotton for the actual lining. For the boning layer, I picked up some cotton duck, which was way thicker than I imagined it would be.
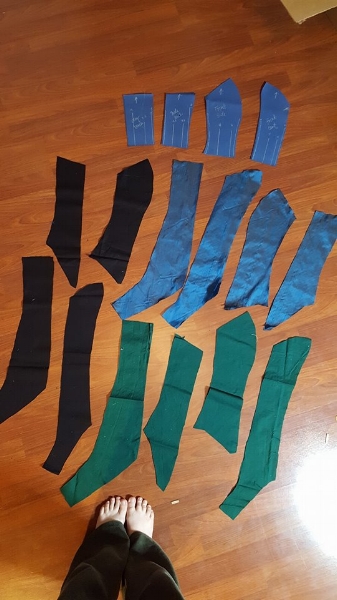
Too many pieces.
I did a mock up in cotton and after tweaking it to the perfect fit, I cut into that $17/yard silk and tried not to cry. After cutting out the pieces, I threw the pattern aside and didn't follow the directions for the rest of the project. I usually don't follow the pattern directions for sewing things unless I'm just really desperate and can't find better resources online.
Really it was just a matter of sew all the green pieces together, then sew the black pieces together, then sew the blue pieces together and sandwich them all. I ended up scrapping the boning layer because I didn't make it long enough (and my steel was too short) and it was just too bulky.
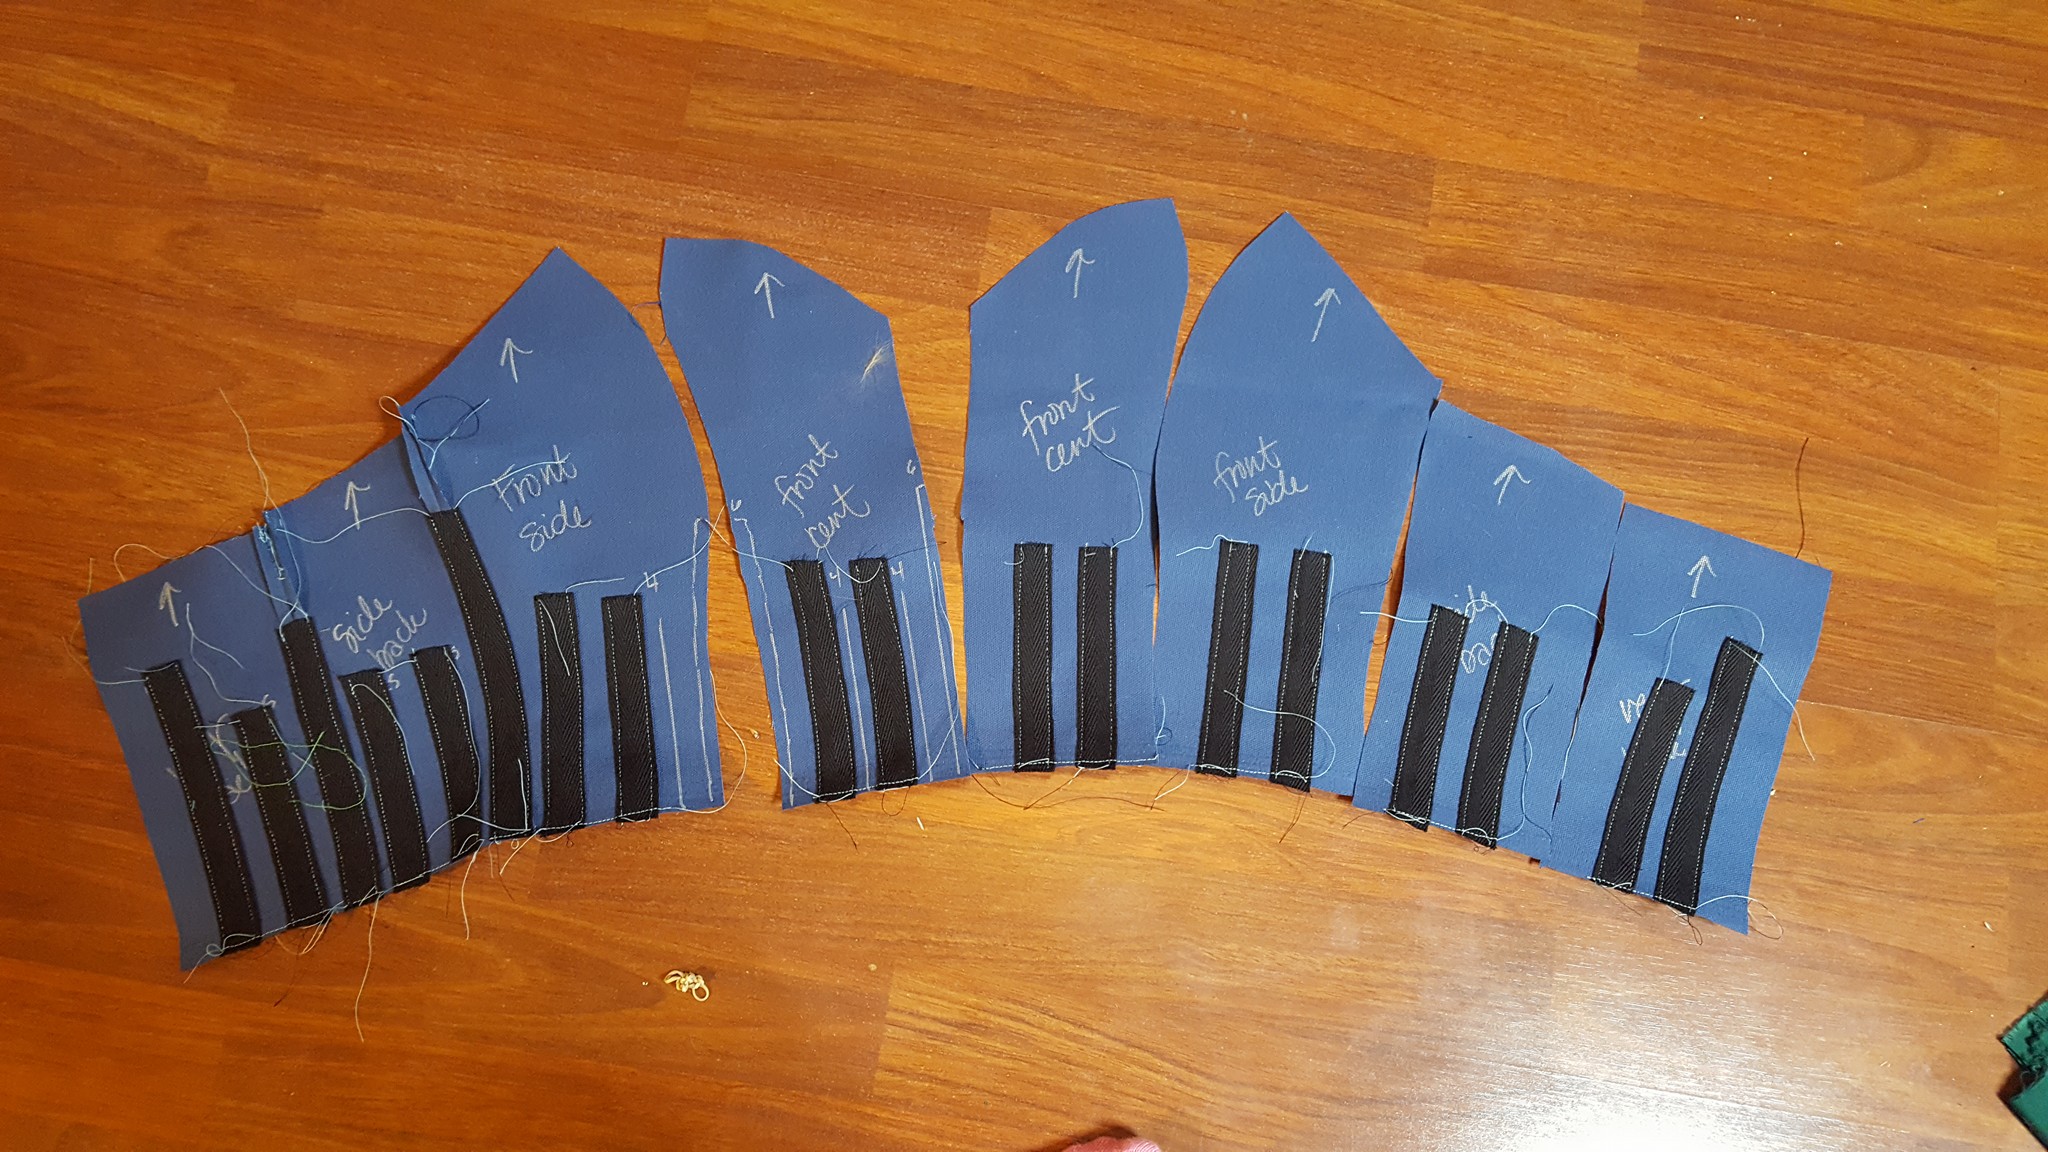
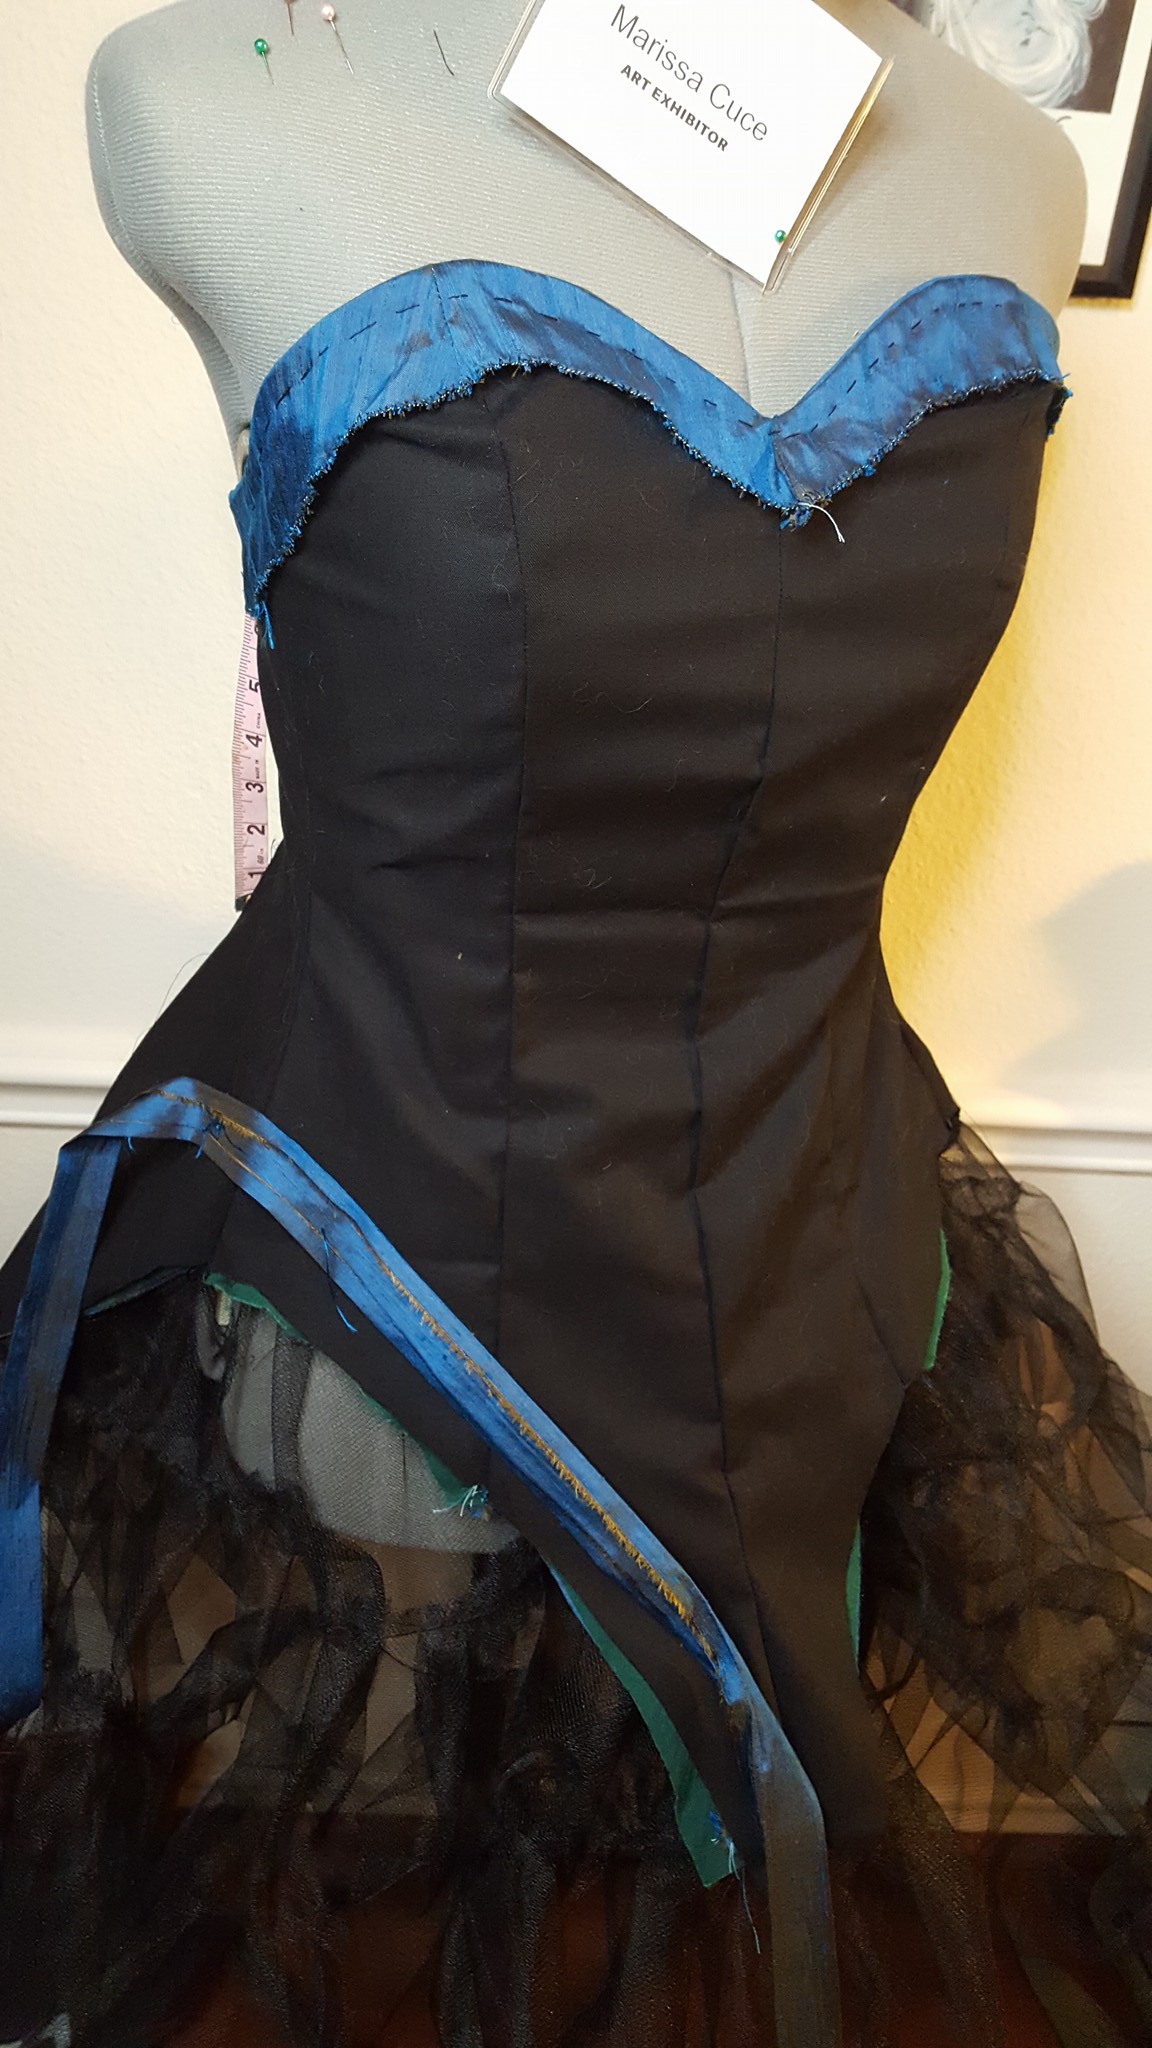
I got this far and decided to maybe just reuse this piece in something else... Also I did a horrible job of eyeballing the boob area.
Since there's a photo, I'll explain my boning layer. I followed the same pattern as I used for the other layers but realized that, as this was the fifth time cutting the pattern, I was warping it more and more every time so this piece fit really awkward. I followed Jessie Pridemore's bunny suit tutorial for ideas and utilized her boning advice. I used spiral steel boning on almost every channel except for the front center (the channel would be sewed on once the middle pieces were sewn together) and the back center, which would both be done with flat steel boning. I used twill tape and bought these supplies from Corset Making Supplies. But in the end, I left this layer out of the bunny suit. Maybe I'll reuse it for a corset or something.
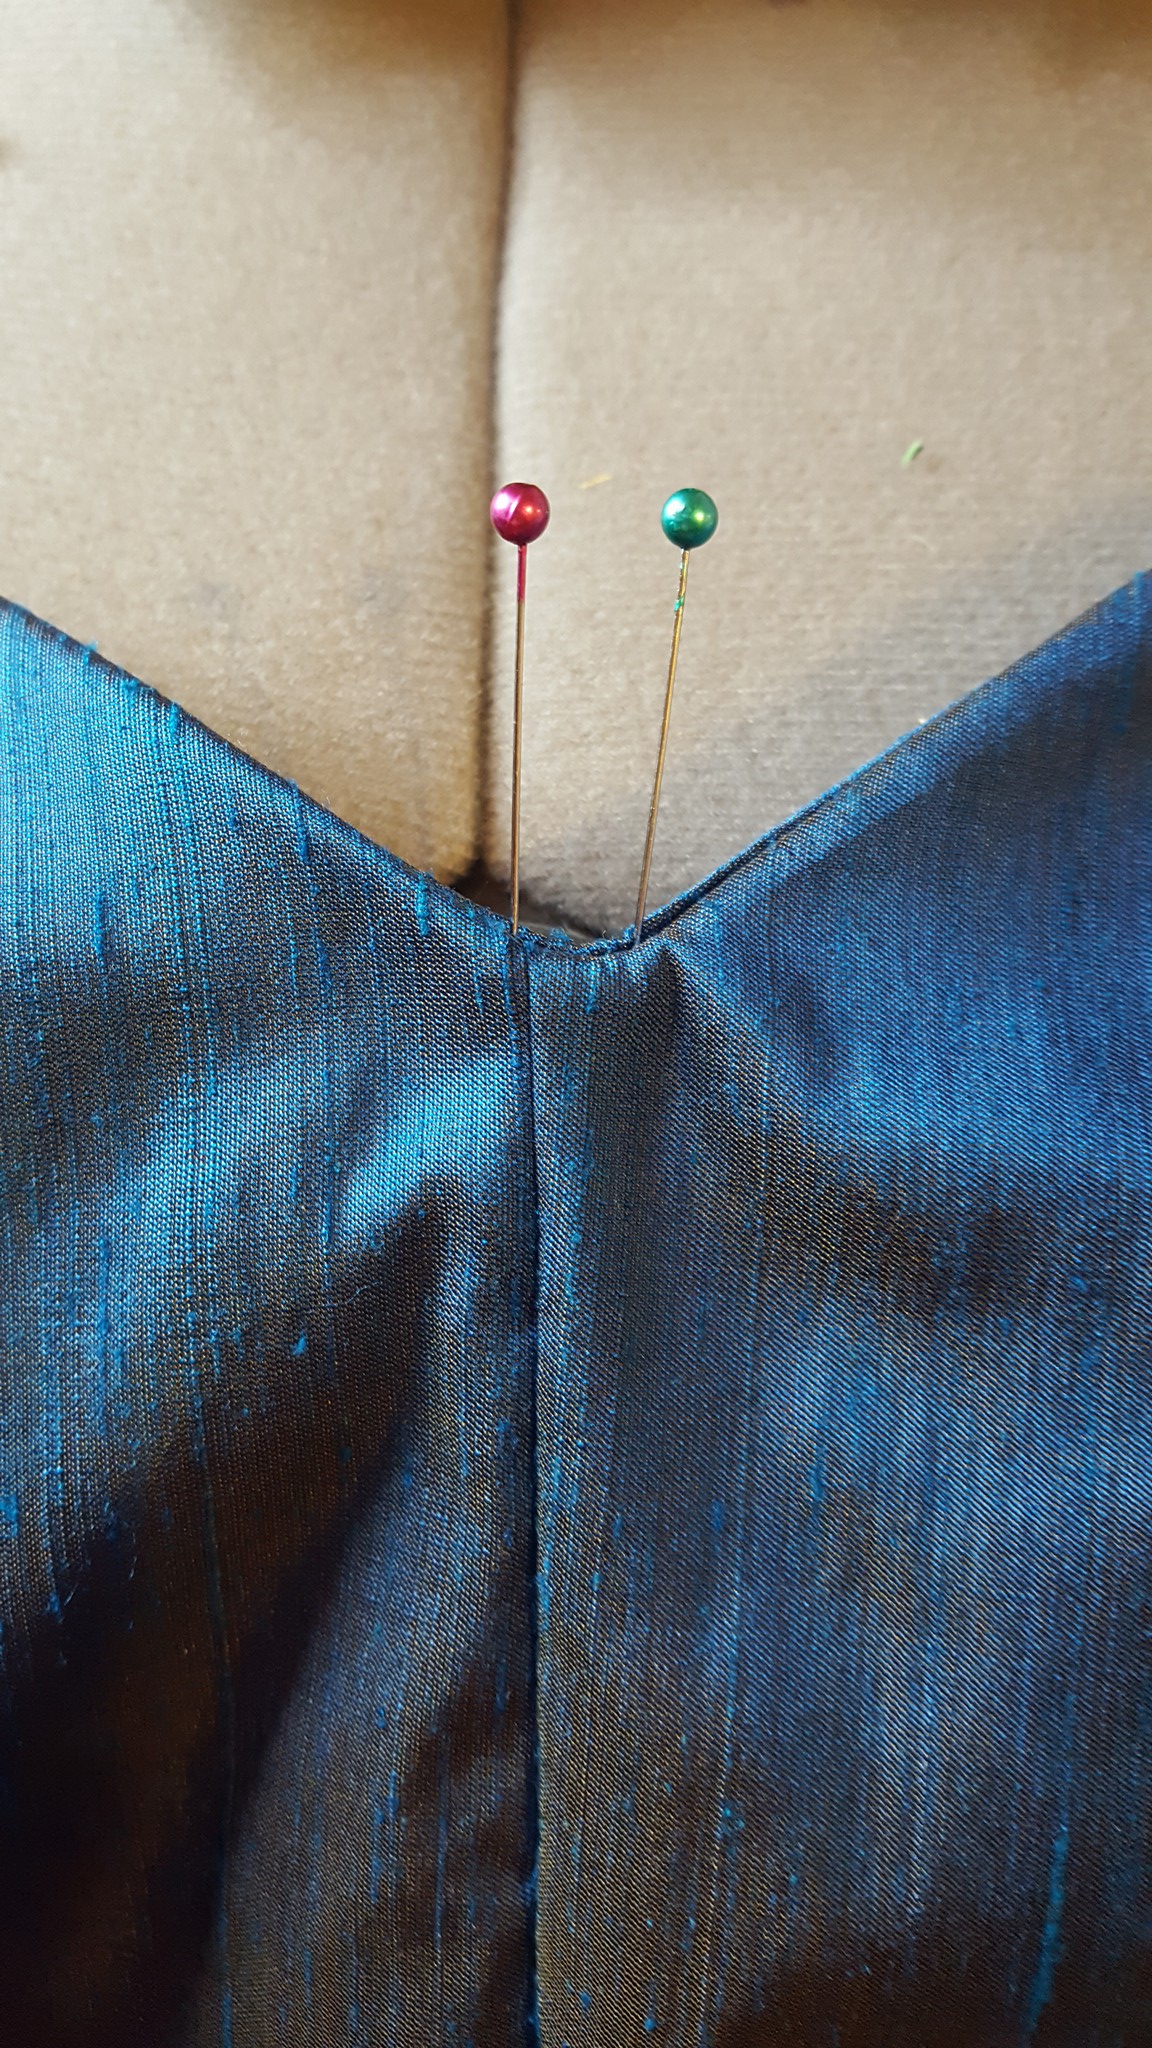
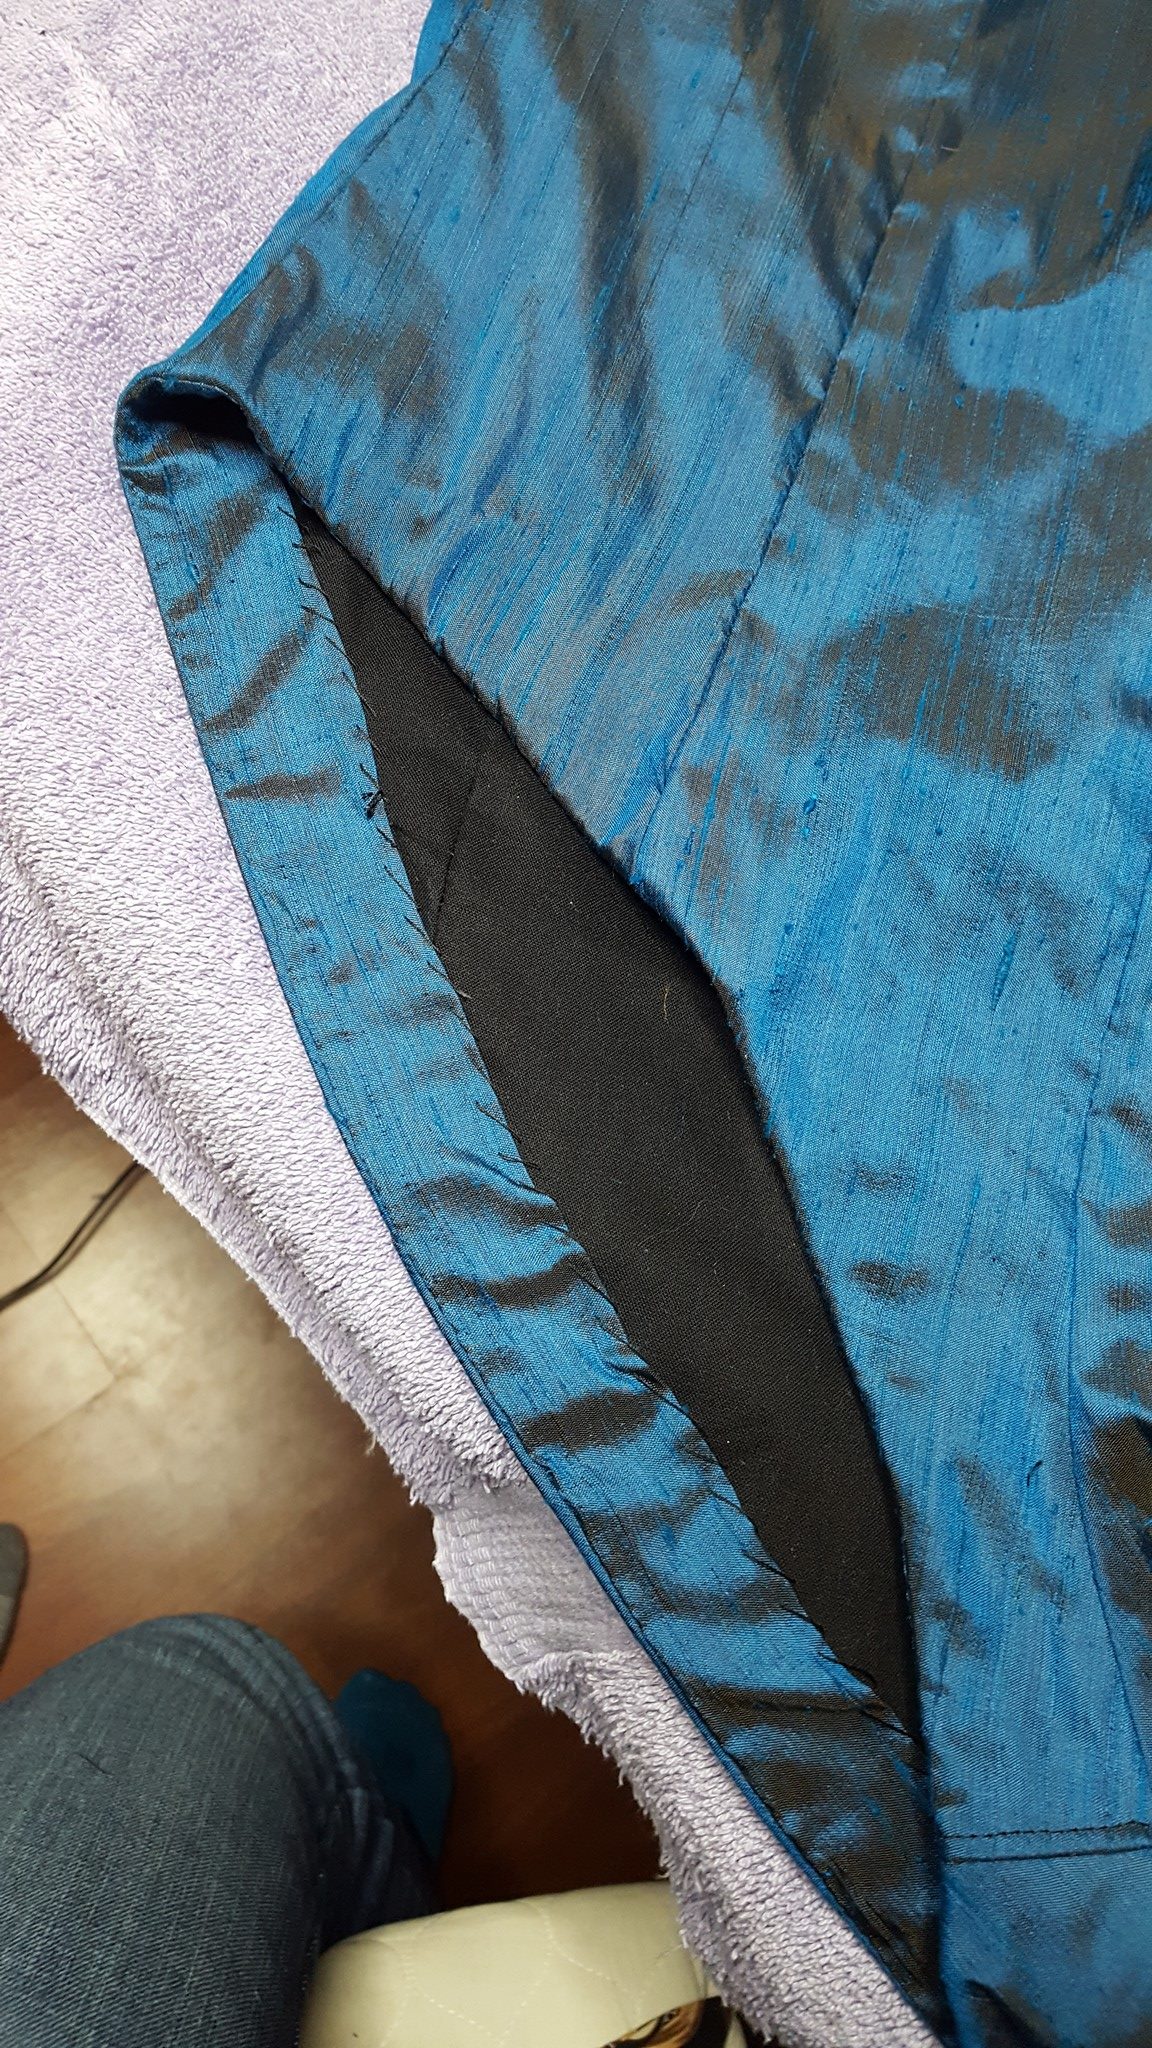
At this point, it was time to start putting it all together. I didn't want any visible hems, so I did facings for the neckline and leg holes. For the neckline, I traced the existing neckline pieces and made a 2" pieces that I machines stitched down and then hand tacked into place. I could have finished the neckline facing a little bit nicer, but was too excited to move onto the legs. The facings for the legs are just like bias tape, which we machine stitched down and then hand tacked into the lining so that from the outside, no hems or seams! The sweetheart neckline gave me the most trouble because the middle seam on the outside of the costume (pink pin) would NOT line up with the middle seam on the facing (green pin) no matter how many times I redid it, so to preserve the delicate fabric, I just ignored it and went onto the next part.
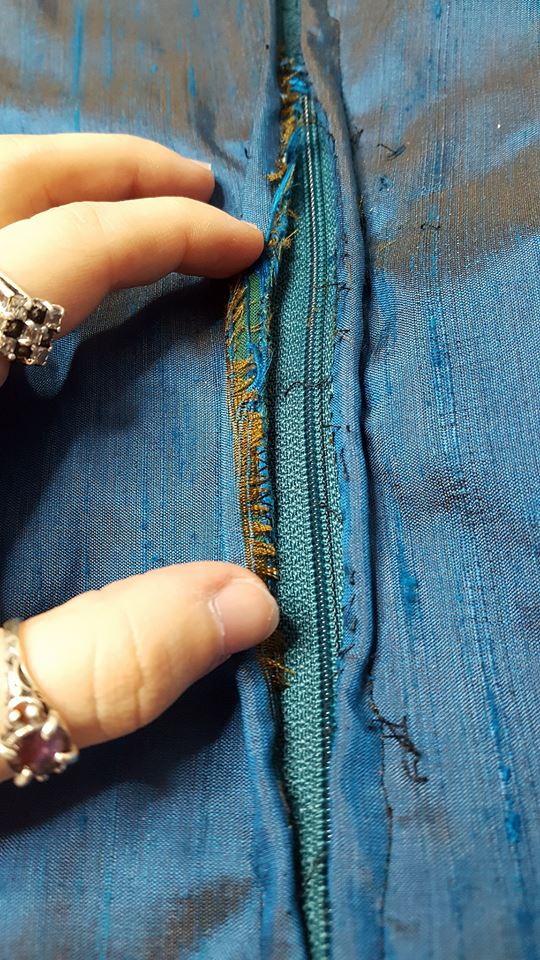
I abhor zippers.
So! Pieces put together, neckline and leg holes finished, all that's left is my one true enemy: the zipper. I've actually gotten pretty good with zippers over the years, but I still hate them. The silk was having some fraying issues if the fabric wasn't perfectly lined up with the zipper and at one point, I seam ripped though the silk and wanted to die. Some clever/desperate folding hid most of the hole and I got the zipper in.
I bought some heat transfer vinyl to do the gold details but fell in love with the cleanness of the solid blue suit and told myself that I'll try the vinyl later. I'm not 10000% sure if the vinyl will adhere to the silk. The silk took light ironing on the facings, but I don't know about melting vinyl glue. For the accessories, I cut out rabbit ear shapes and threw some wire in them and glued them to a silk covered headband. The cuffs were some thick interfacing covered in white cotton with painted paper scrapbooking studs glued on. The tail was some faux sherpa filled with stuffing that pinned on, although in the future I want to sew snaps on because the safety pins left holes in the silk. The collar was actually just one that I cut off of a men's dress shirt and made a little bow tie out of silk that just velros onto the collar button.
I loved this costume! It was a bit chilly out, but totally worth it!