

Junebug D.Va from Overwatch
Anime Matsuri 2017
Photos by TT Photography
MATERIALS
- Spandex (Here)
- Metallic stetch vinyl (Here)
- Ultapreme (Here)
- Craft foam
- EVA foam
- Cheap shoes
- Grocery bags (It makes sense I promise)
- Paper
- Paint
PROCESS
The whole idea started with me being tired of seeing the same sublimation D.Va suits all over the internet. I love the advances that we've made with textiles and fabric printing, but I wanted to make something different. The Junebug skin stuck out because of the colors and unique paneling, and I knew that I would have a fun time with it. "Fun" time.
I spent a few weeks scouting out fabric because her suit was this weird ambiguous coppery gold color. Eventually I settled on a matte metallic stretch gold vinyl and a matte green spandex. The gold was just shiny enough to be interesting, and the spandex had a nice sheen to it that played well with the gold. I think I bought two yards of each.
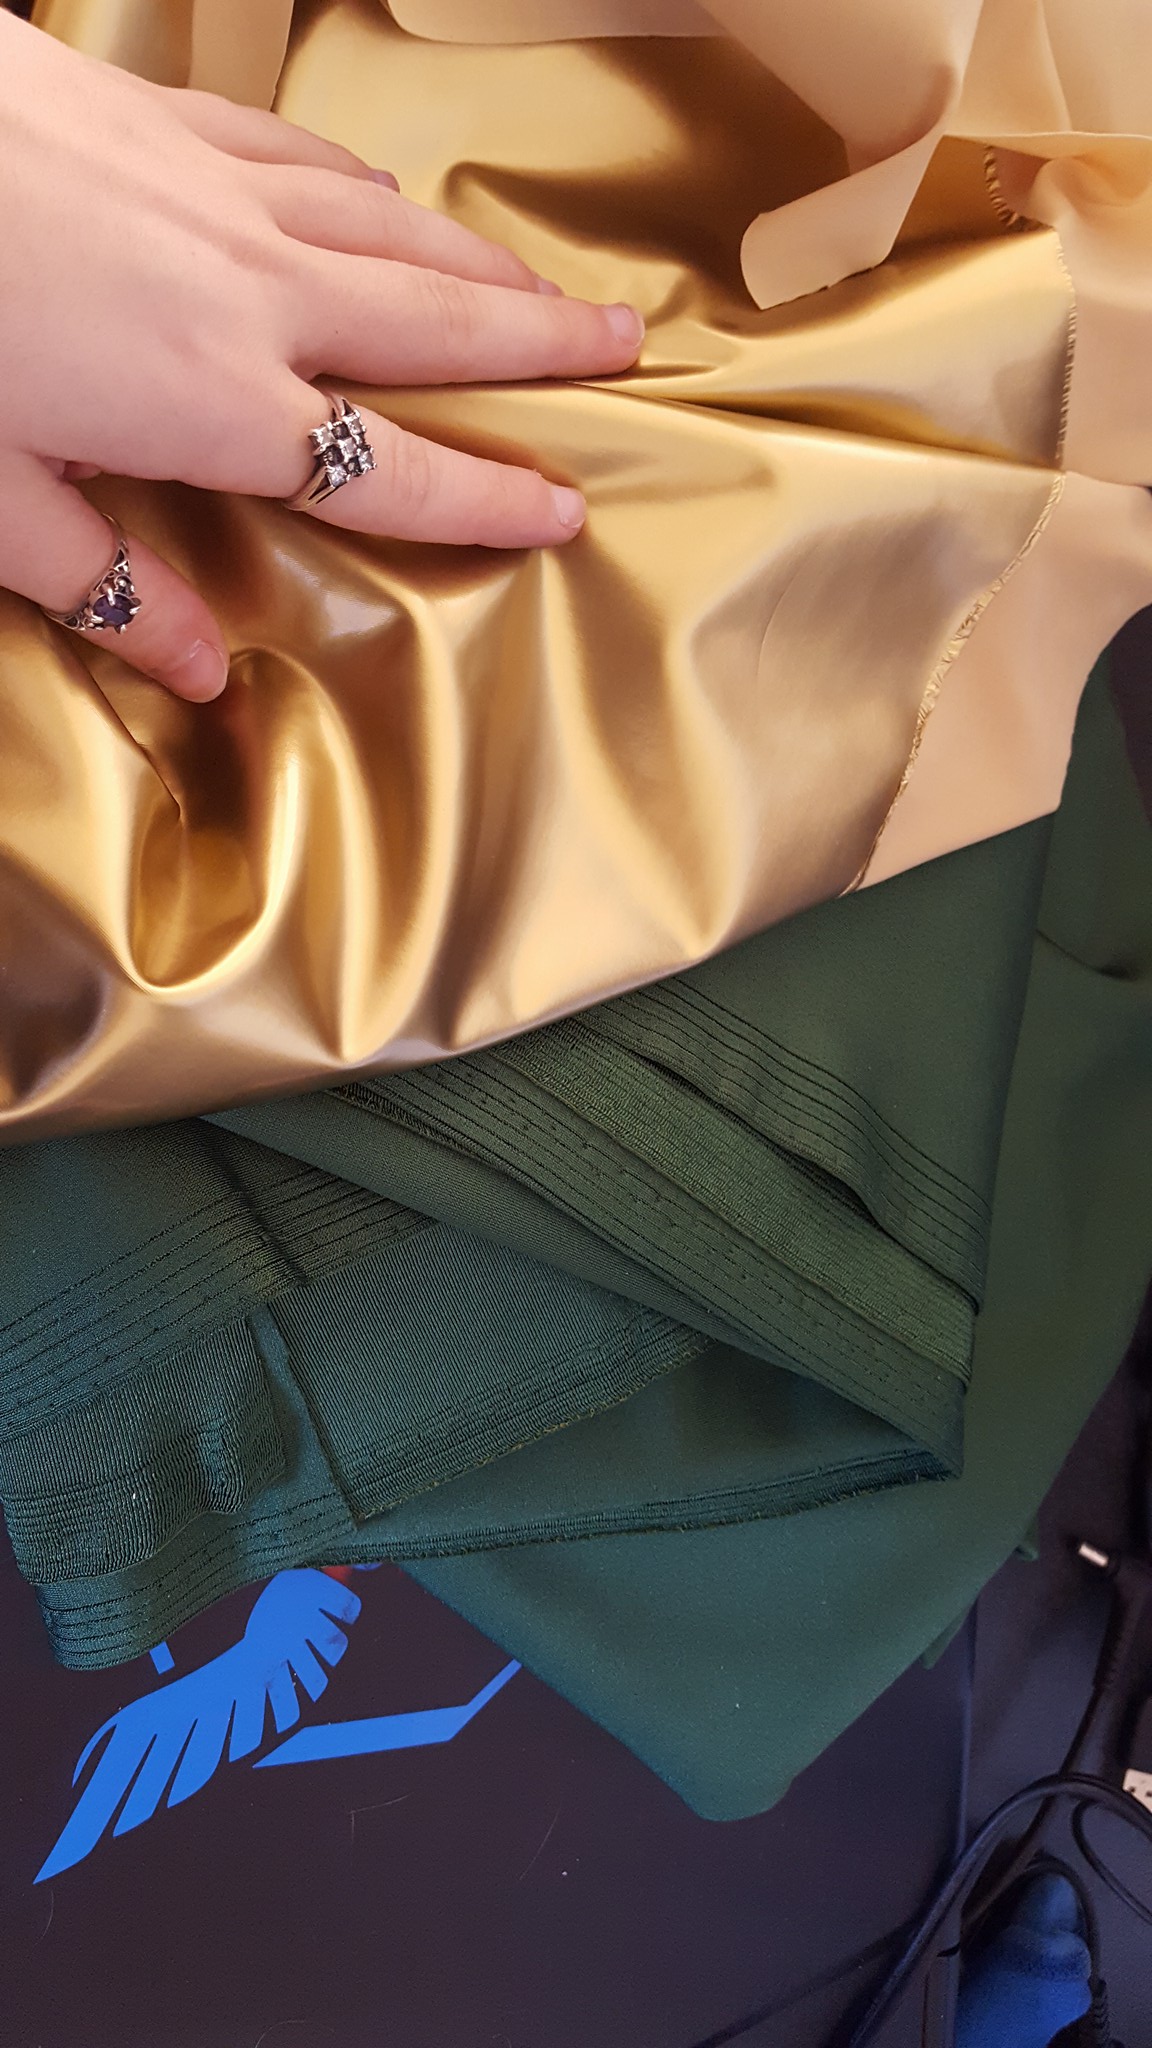

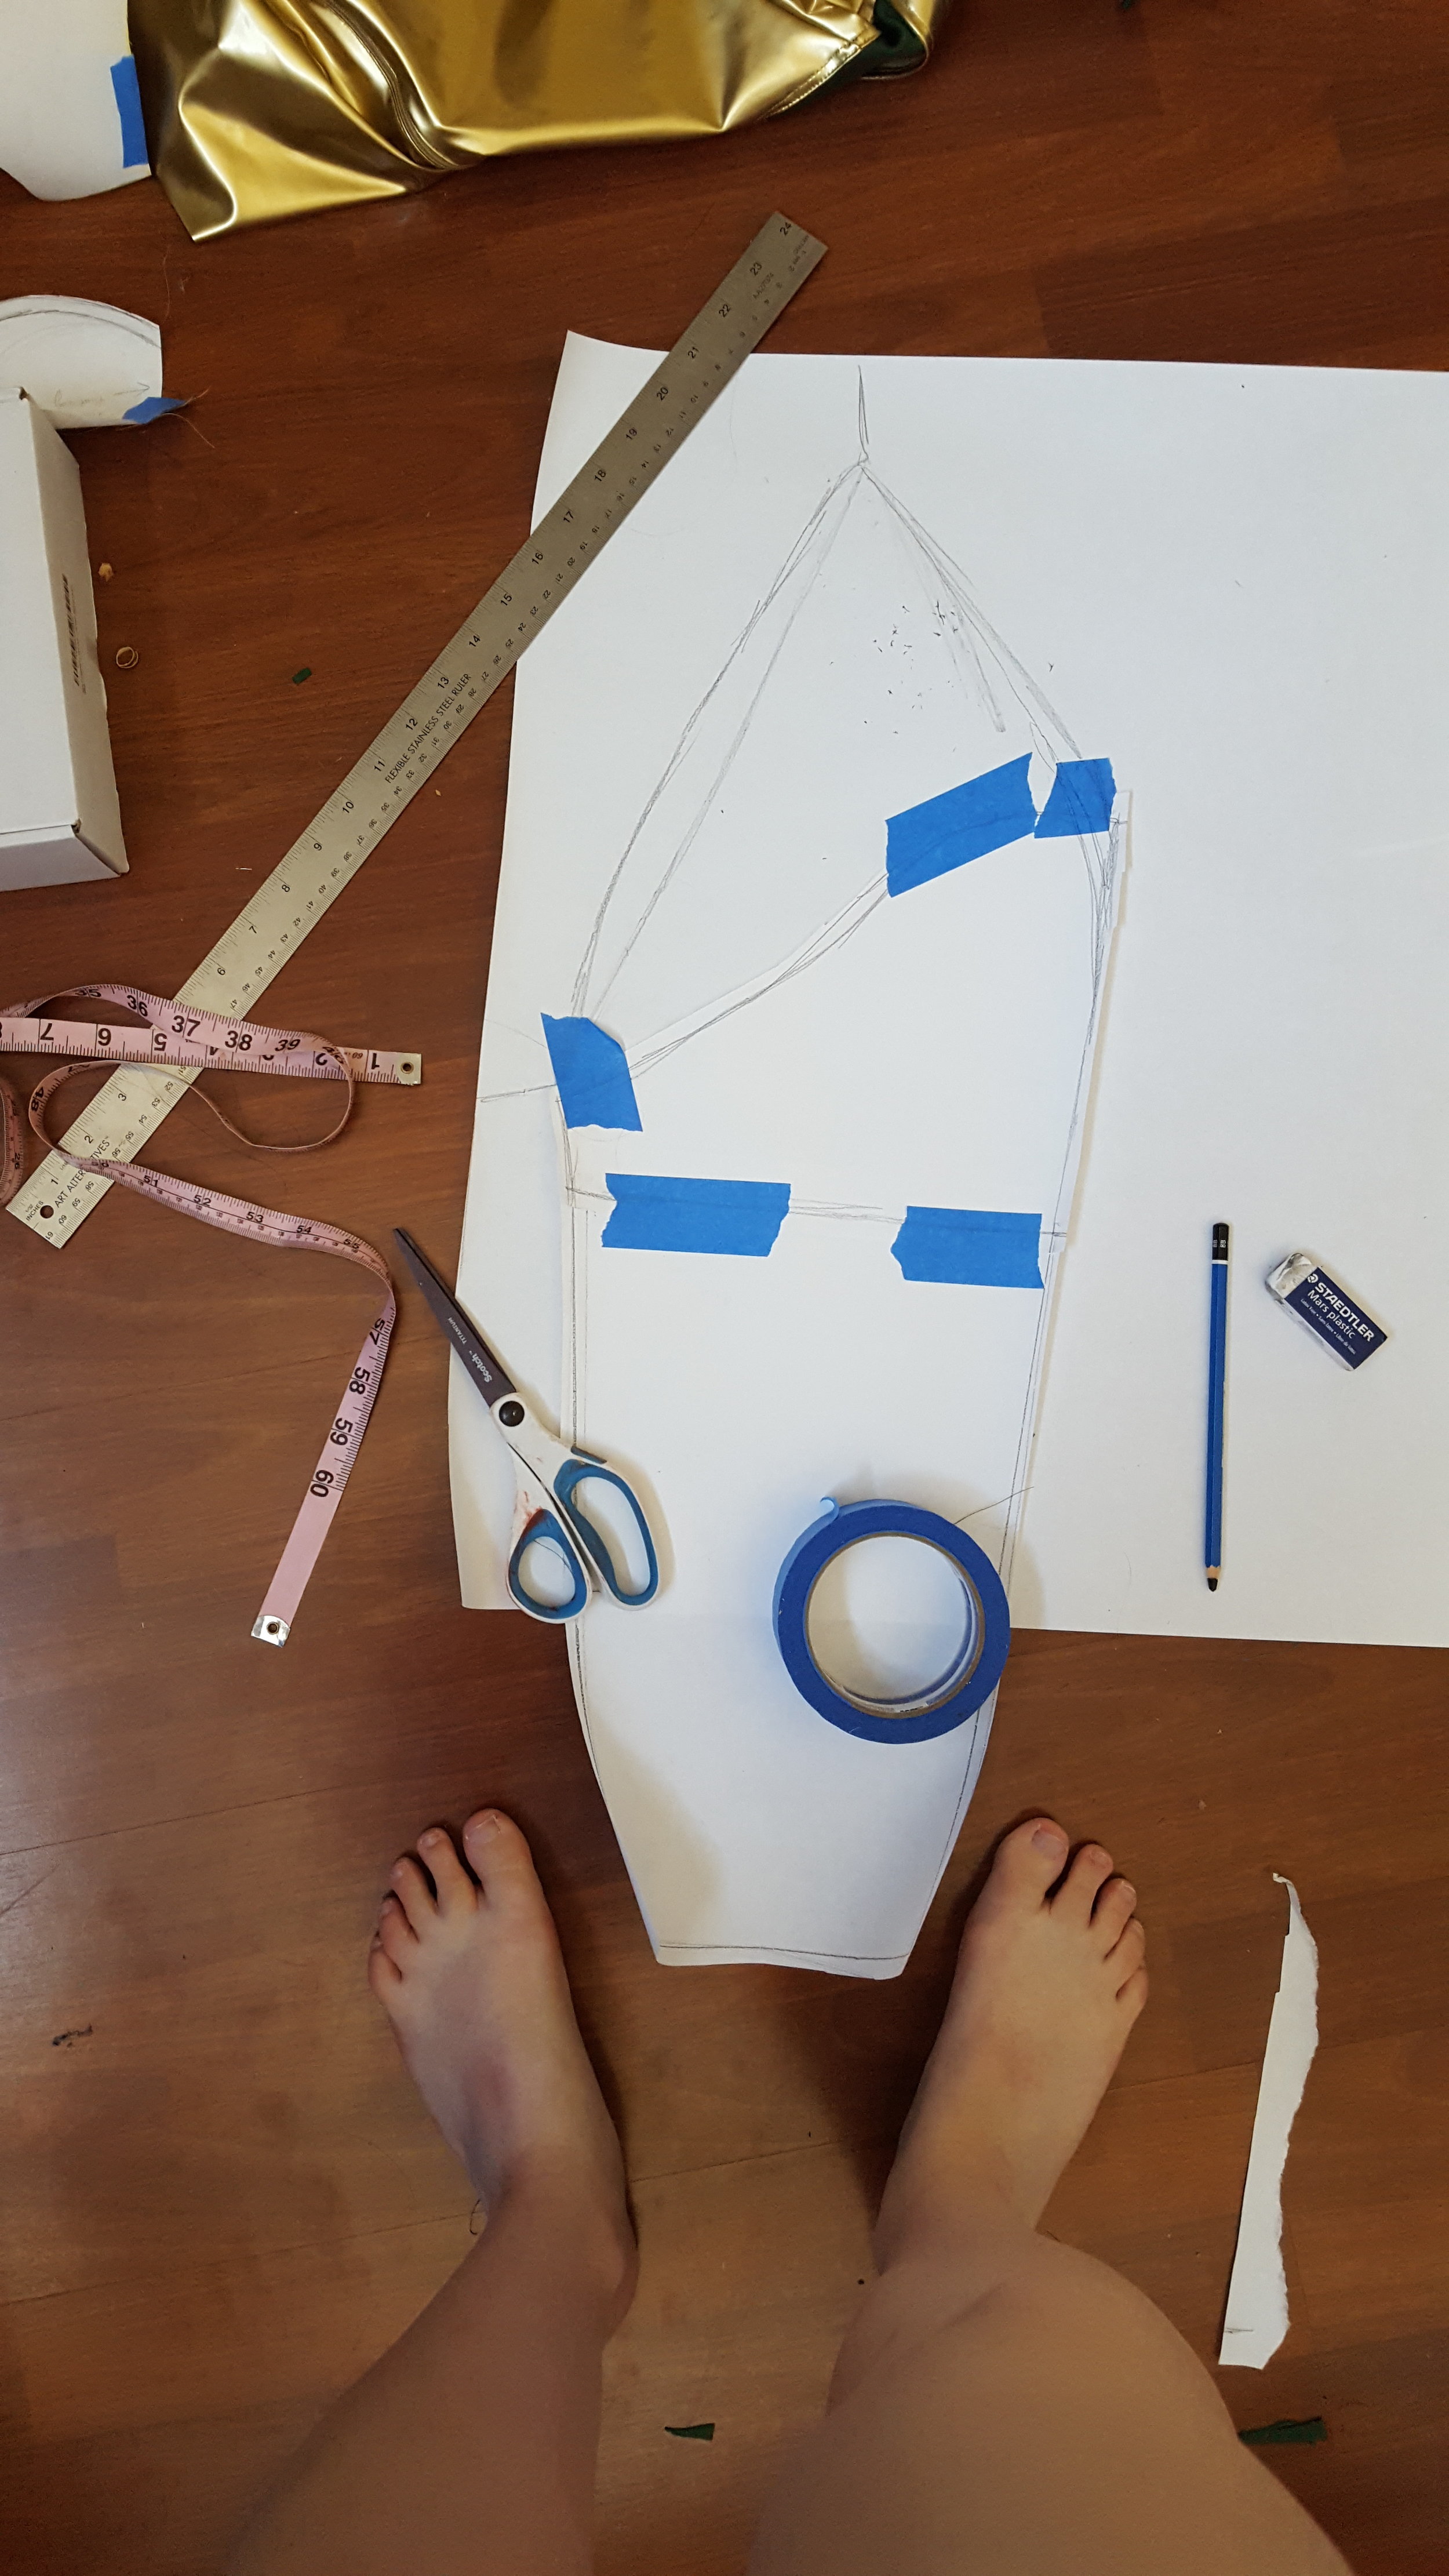
Mmmm I love those fabrics together. After gushing, it was time to start planning the paneling. Since this is a 10000% from scratch suit, I had to do some deep thinking. I drew out the basic shapes where I knew I'd have seams to play with. To get the basic shape of the torso and legs, I laid my Rain costume on the floor and traced in onto some paper. You can get large rolls of white paper at your local craft store and it comes in handy when you need to make large patterns! I pretty much just sketched out where I wanted my pieces to go. There's no science to it, just draw something and cut it out and sew it. Always sew larger and tailor down!
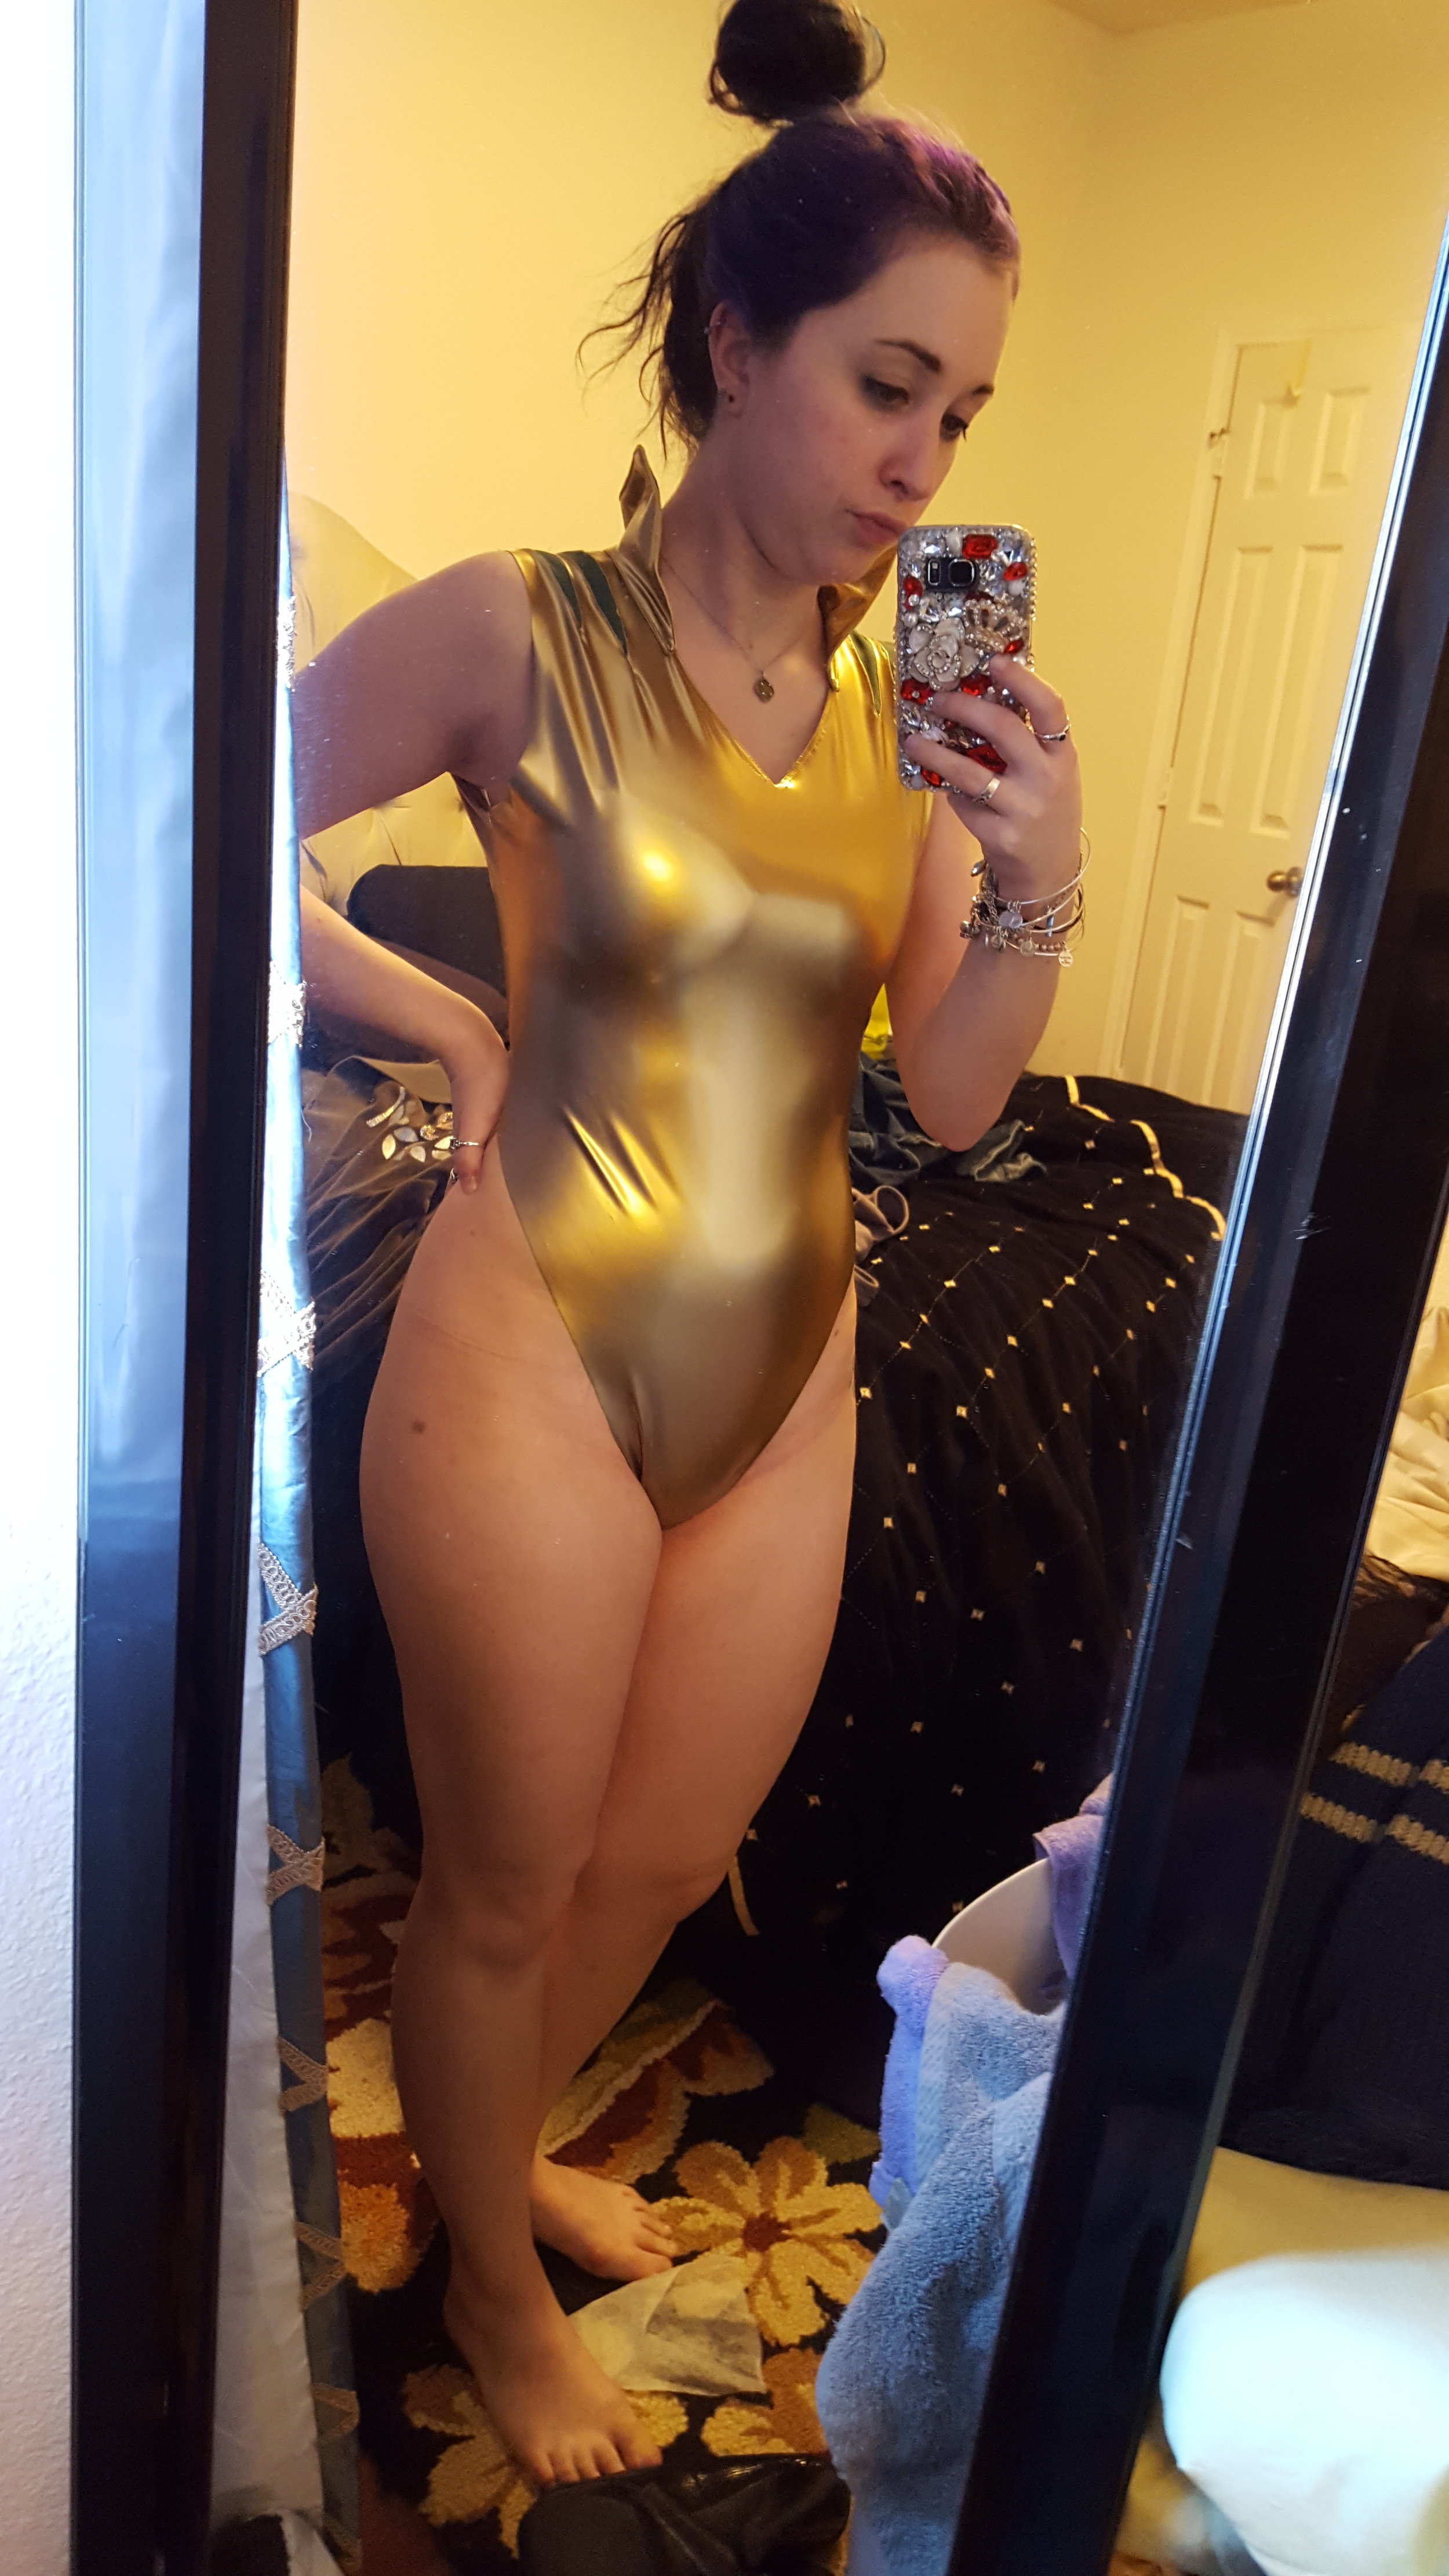
I started by sewing the torso piece. Essentially it's just a swimsuit with more chest coverage at this stage. Once I had the base piece down, I added the collar. I had my first taste of how fun vinyl is to sew.

Mmmmmm so crisp.
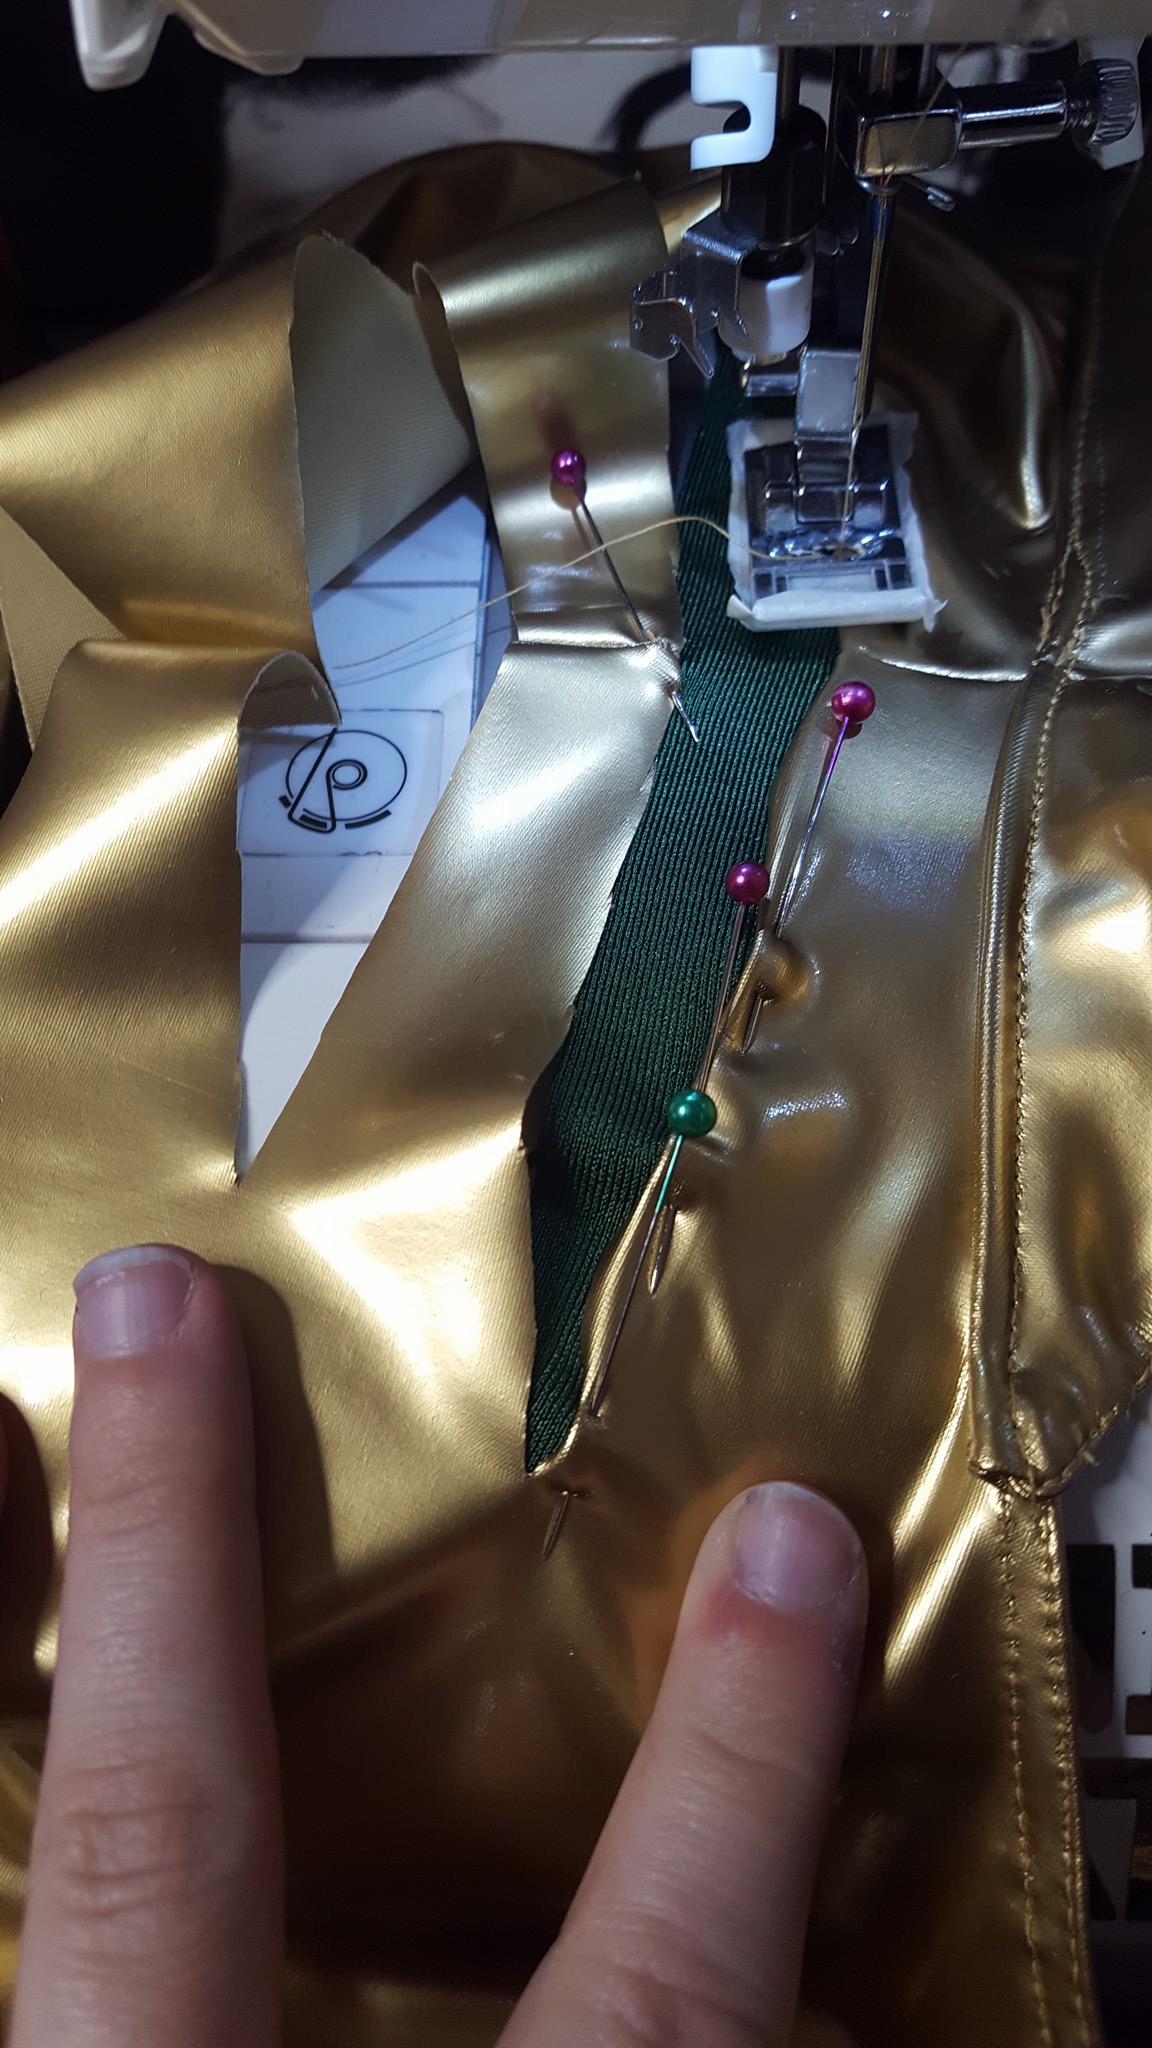
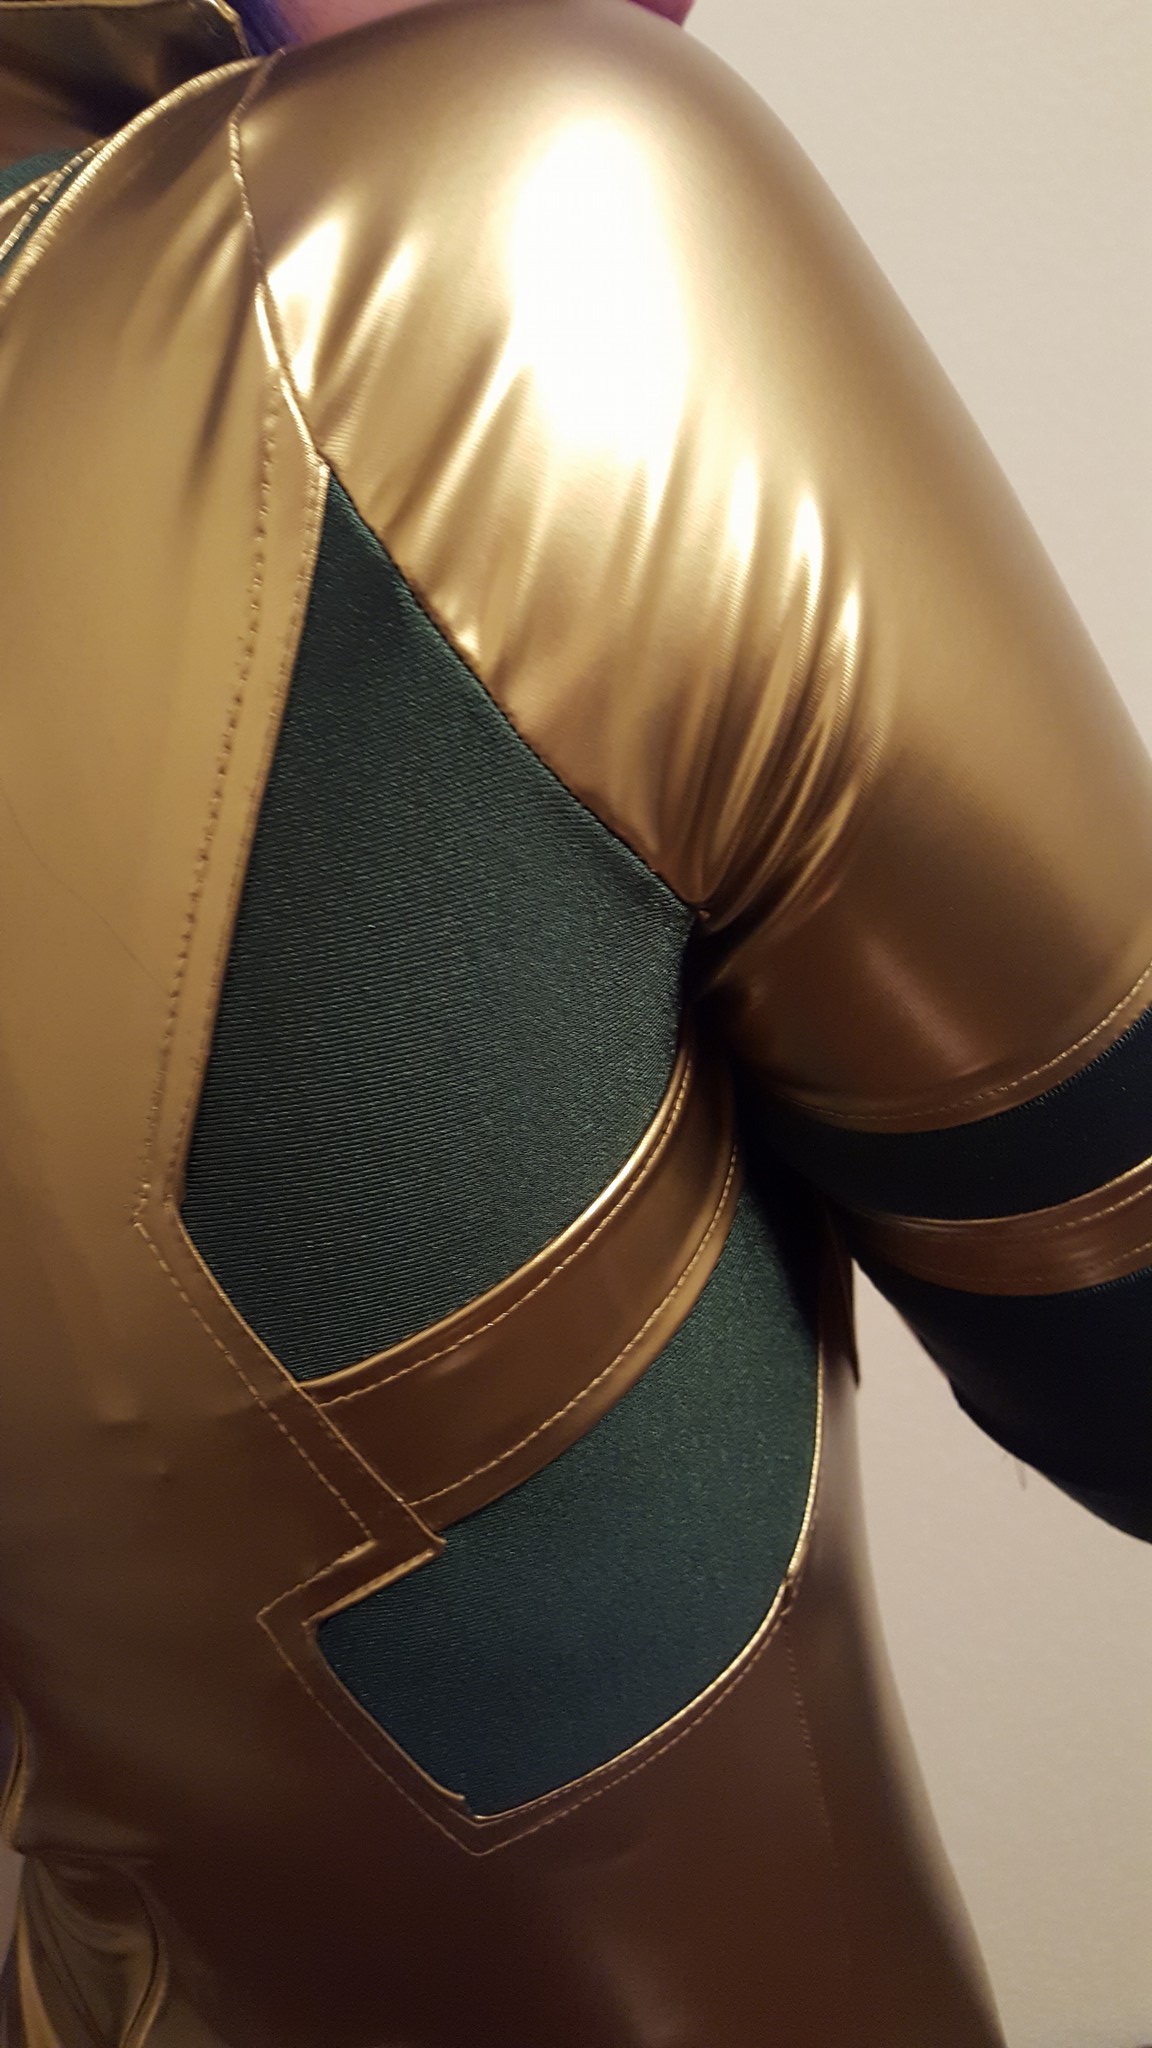
I'll explain the above photos in order. After I put the collar on, I realized that D.Va has these weird little slashes on her shoulders so, without thinking of a logical solution, I just cut shapes out and went for it. 90% of this costume is just the gold fabric folded on top of the green fabric and top stitched down. It was tedious and terrible and I wish I had a better idea, but it worked. The thing with vinyl is that every needle mark shows. Seam ripping will leave a trail of holes where the stitches used to be.It made sewing even more stressful!
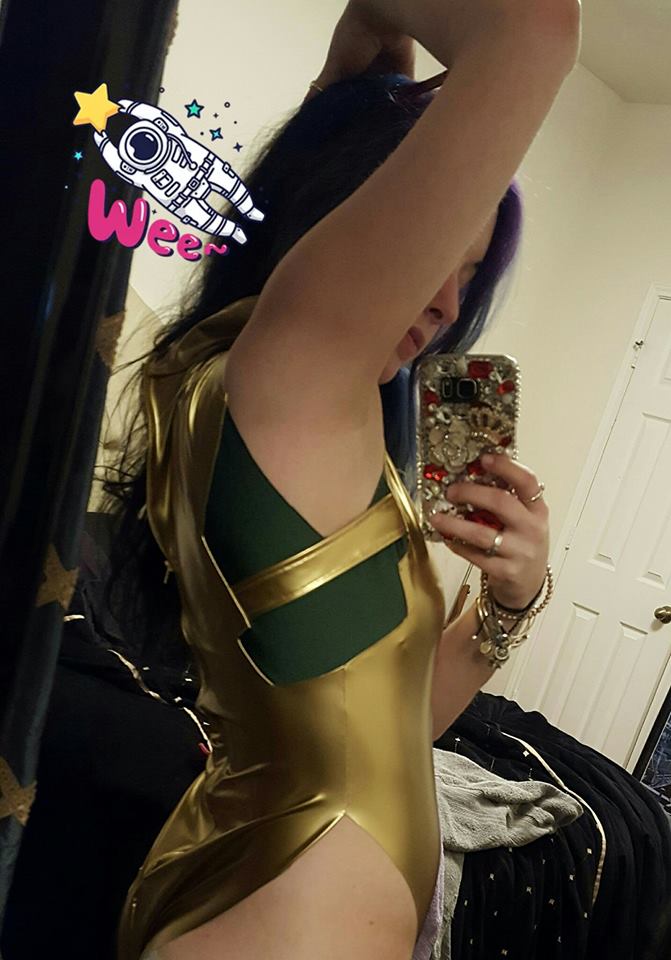
I'm pretty fond of the armpit paneling. All I did was lay paper down on the floor and draw over my torso pattern. I spent so much time just staring at the different art pieces, trying to figure out what the damn panels looked like. I probably deviated quite a bit on my own panels, but, eh.
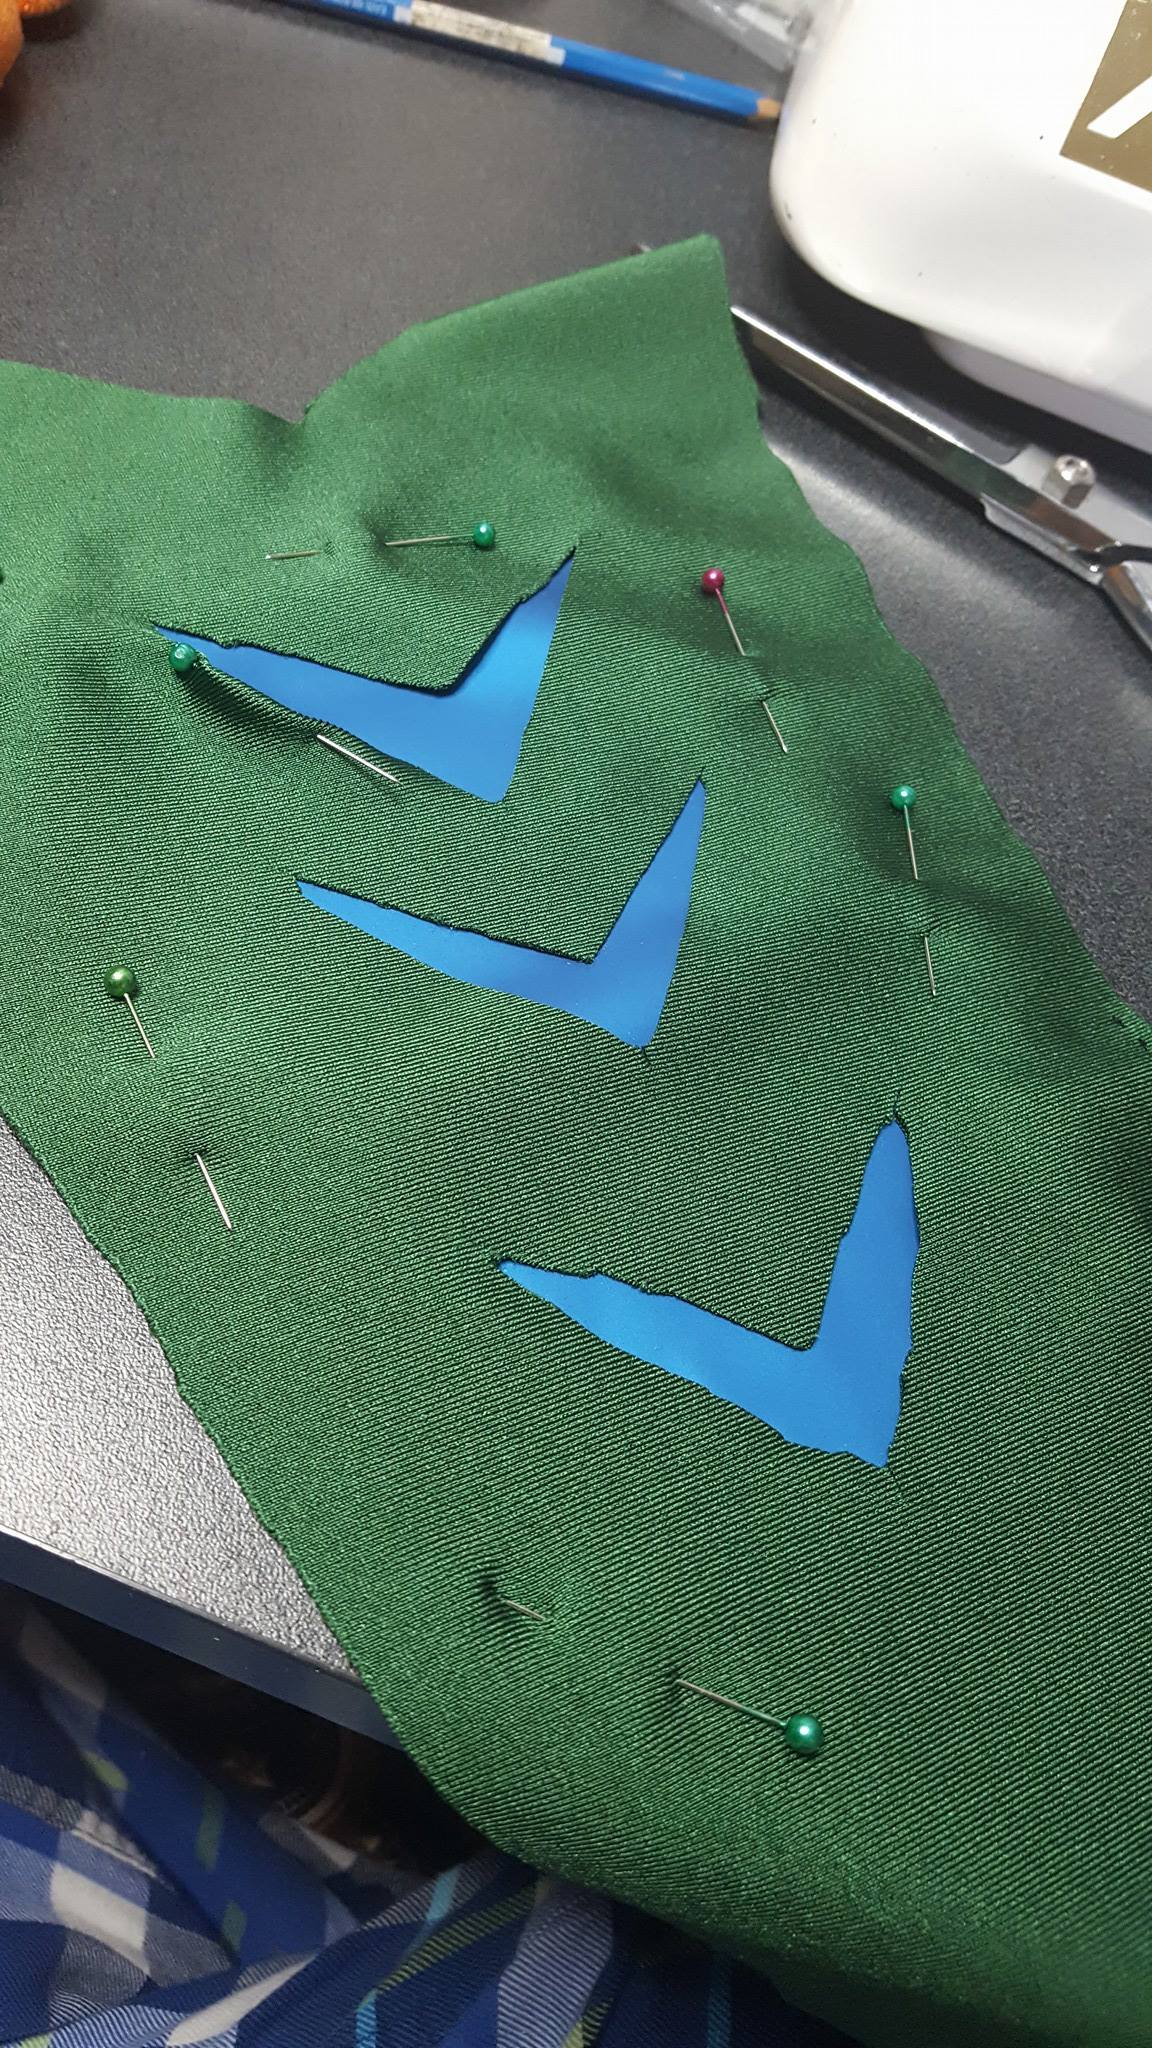
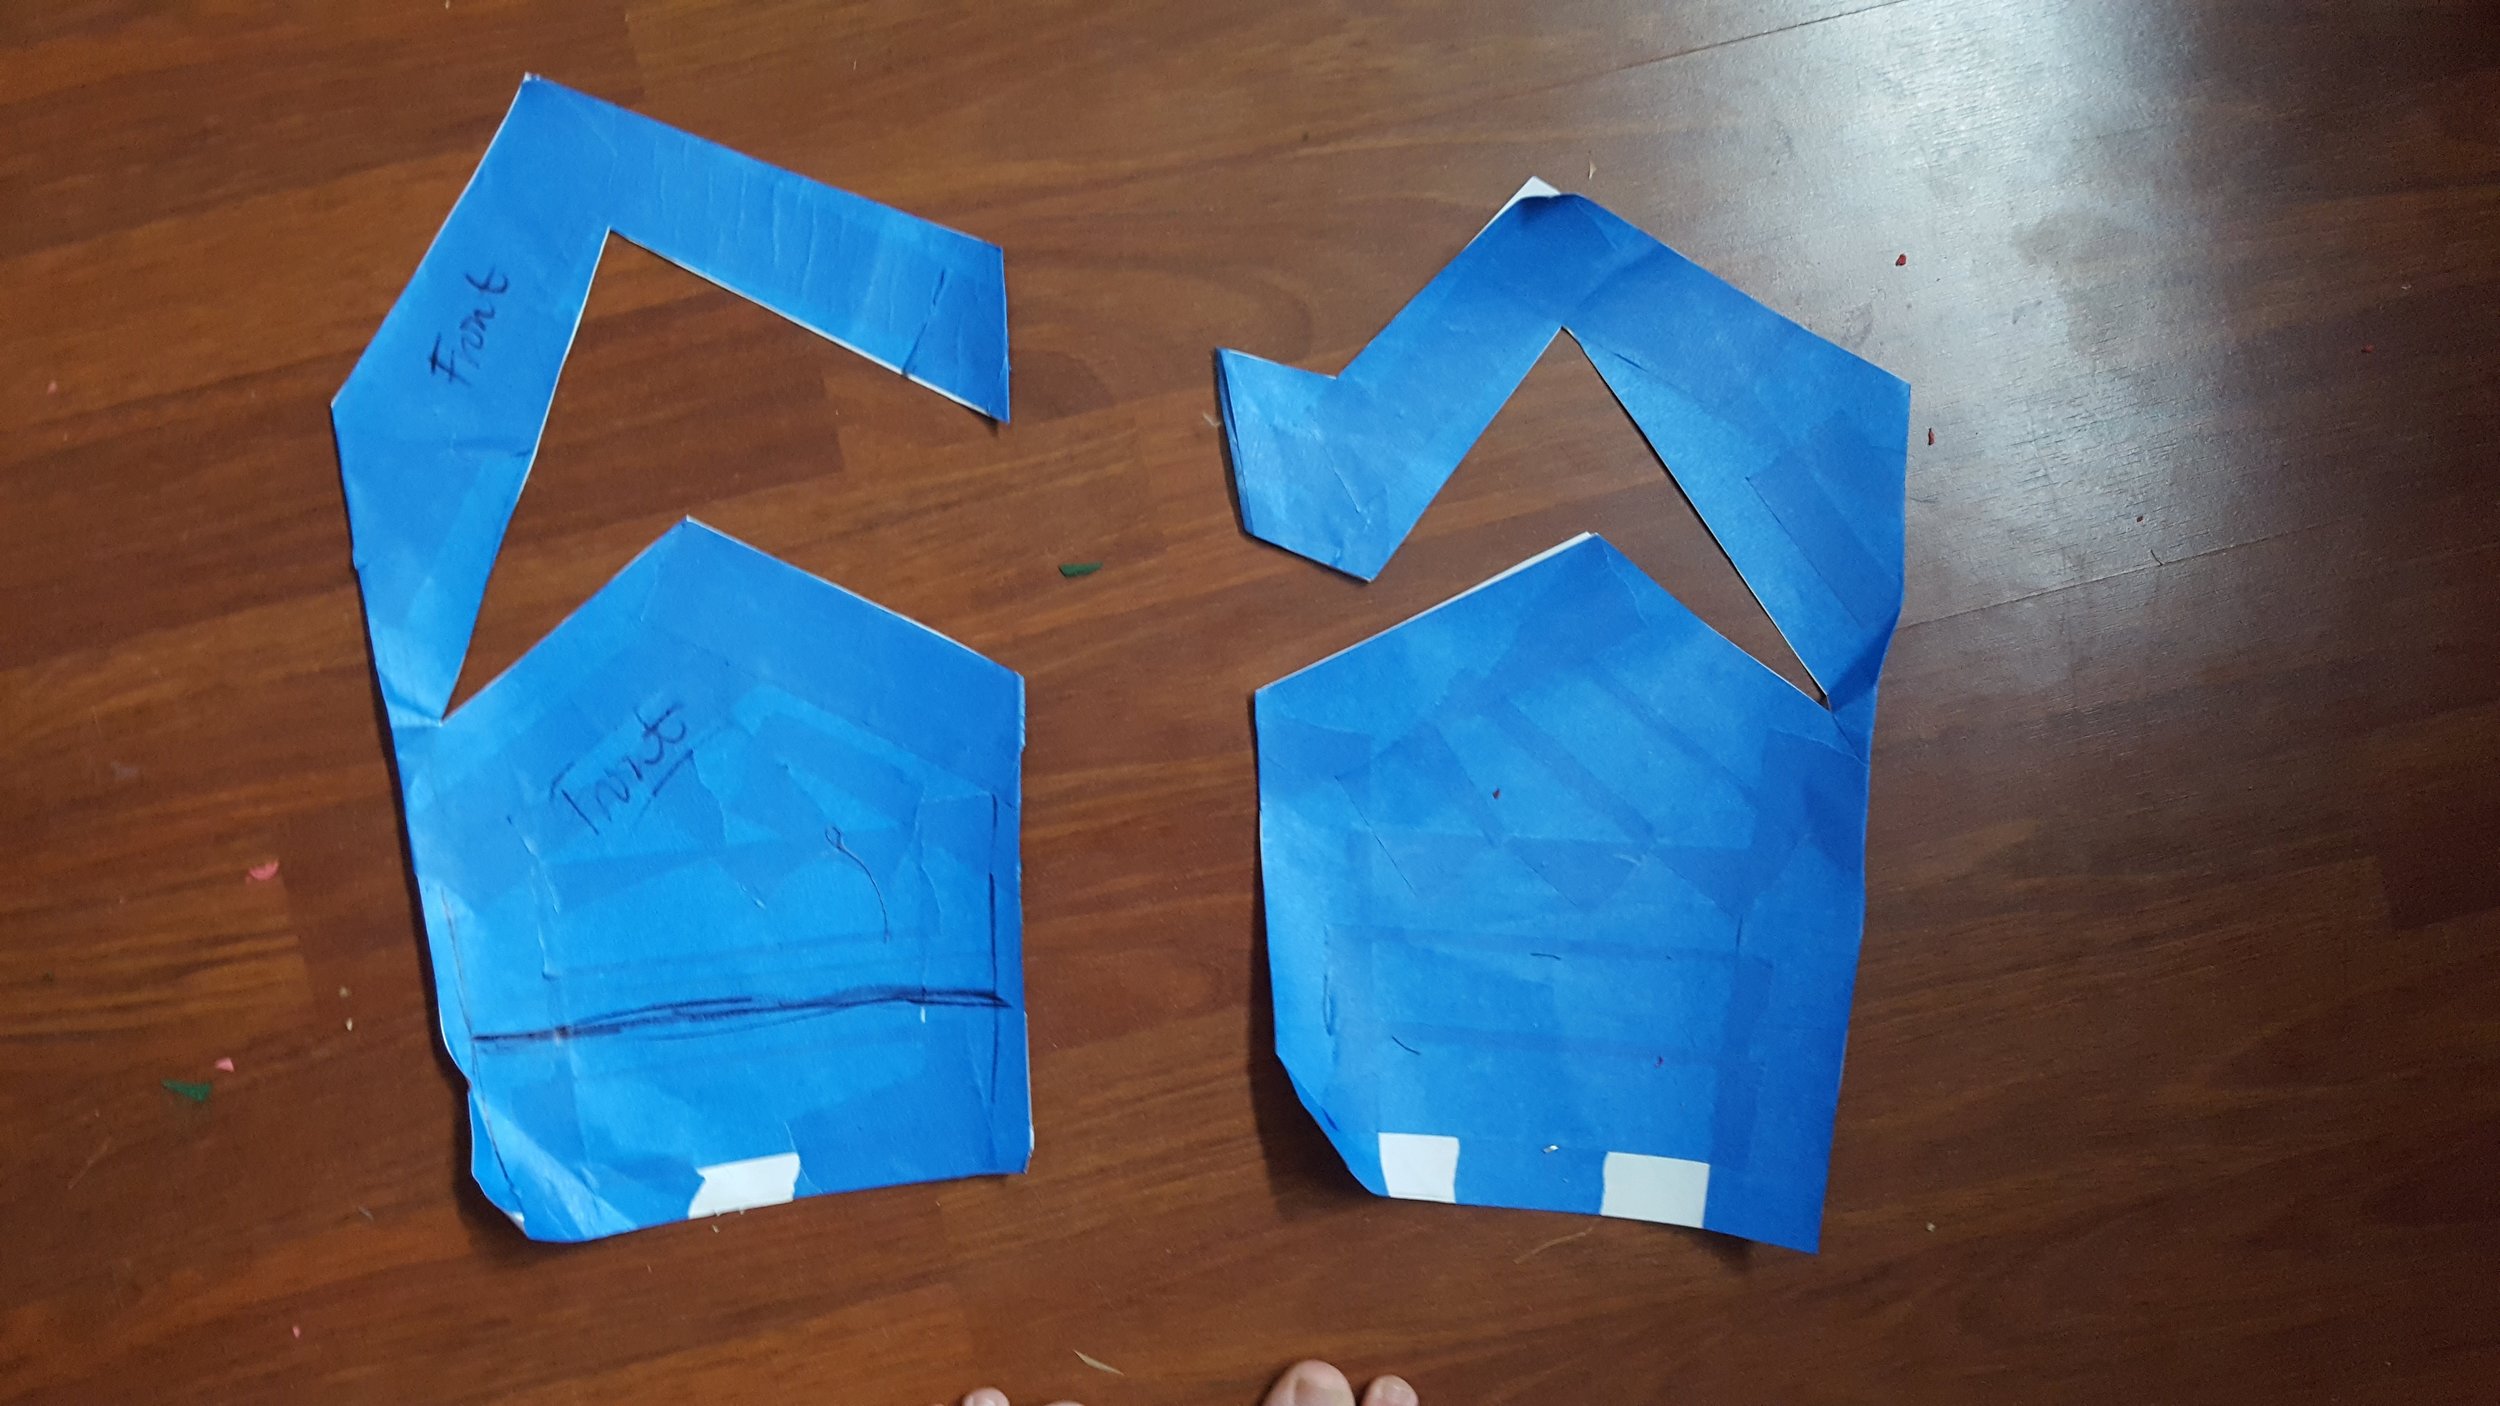
The legs went the same way. Draw a shape down, then draw over it. My patterns were kind of frankensteined so I had to do a lot of shape modification, but that's what tape and pencils are for! For my thigh shapes, I wanted everything as precise as possible, so I used masking tape and just free formed shapes that lined up perfectly at the sides. My shapes aren't quite like the art, but they make me happy. For the calves, I cut out v-shapes and just turned the fabric edges over and top stitched along the edge. Yaya Han's ultrapreme was the PERFECT accent fabric because of its pearl sheen. It's not too flat and it's not too shiny, but when the light hits it a certain way, it almost looks reflective. So cool!

"The Pickle Incident"
After the legs, I went onto the sleeves. I don't have any photos of that, but all it is is just a series of rectangles sewn together to make bands. Gloves, next to zippers, are the bane of my existence, but by some luck (Maybe it was because I was watching the new Cinderella), the gloves came out right the first time, using the hand turkey method. In my joy, I threw the gloves on my keyboard and walked away, not knowing that they missed the keyboard and landed in the bowl of snack pickles. Pickle fingers, yaaaay.
I made her goofy little elf shoes by covering a pair of cheap mesh sneakers in fabric. I covered the shoe in tape and then used that to make a pattern, modifying it for the curly toe. I ran out of filler, so I used plastic grocery bags to stuff the shoe points with. Recycle!

I wasn't painting these at 2 AM :^)
Last on the list: props! I had a friend 3D print out the gun and ear pieces. I used XTC-3D to coat the prints before I painted them. I wasn't suuuuuper concerned with having an ultra smooth and sleek looking gun, so it got minimal sanding, whereas the ear pieces got a lot more love. I like hitting my props with spray paint as a base coat and then going in with acrylic paint over it. I use professional artist paint (Golden and Liquitex) because the pigments are much better and the paint is thicker. I do like some of the effect paints (glitter, pearl, metallic, etc) you can get in the craft paint section for detail spots. I forgot to attach the little bee charm :(