


WORK IN PROGRESS
Miss Noir from Sakizou
Anime Matsuri 2018
Photos by Quy Tran
MATERIALS
- Silk dupioni
- Cotton, poly, and silk laces, trims, and ribbons
- Cotton
- Swarovski crystals
- Scrapbooking buttons
- Medium interfacing
- Fake florals
- PEX tubing
PROCESS
Cosplaying a Sakizou illustration was definitely always a goal of mine, but with hundreds of gorgeous reference materials, it was hard to narrow one down until recently. I settled on Miss Noir, mostly because I loved the deep purple and gold accents and I’m a sucker for masquerade themed looks. First up was to source materials, which wasn’t very hard because Silk Baron had exactly what I needed. Most of my trims, ribbons, and laces came from all over the world through the ease of Etsy. I spent months alone just trying to find the right vintage/champagne gold instead of yellow/brassy gold accents.

Acai was the winner, but I need that Blackberry silk in my life.
This costume was also exciting for me because I got to finally make my first hoop skirt!! To preface, math is not my strong suit so this was a bit of a struggle for me. I decided to make a three hoop skirt that hit at my knees for: (1) ease of travel/packing, (2) because I didn’t ever plan on making this costume a full length gown, and (3) because I hate math. There are a few DIY hoop skirt tutorials online, but none of them gave me much insight on how big the hoops were supposed to reasonably be. How am I supposed to fit through a door? How big is too big?? I honestly just started playing around with numbers and began cutting tubes and… well just look at that first attempt. I look like a lampshade.
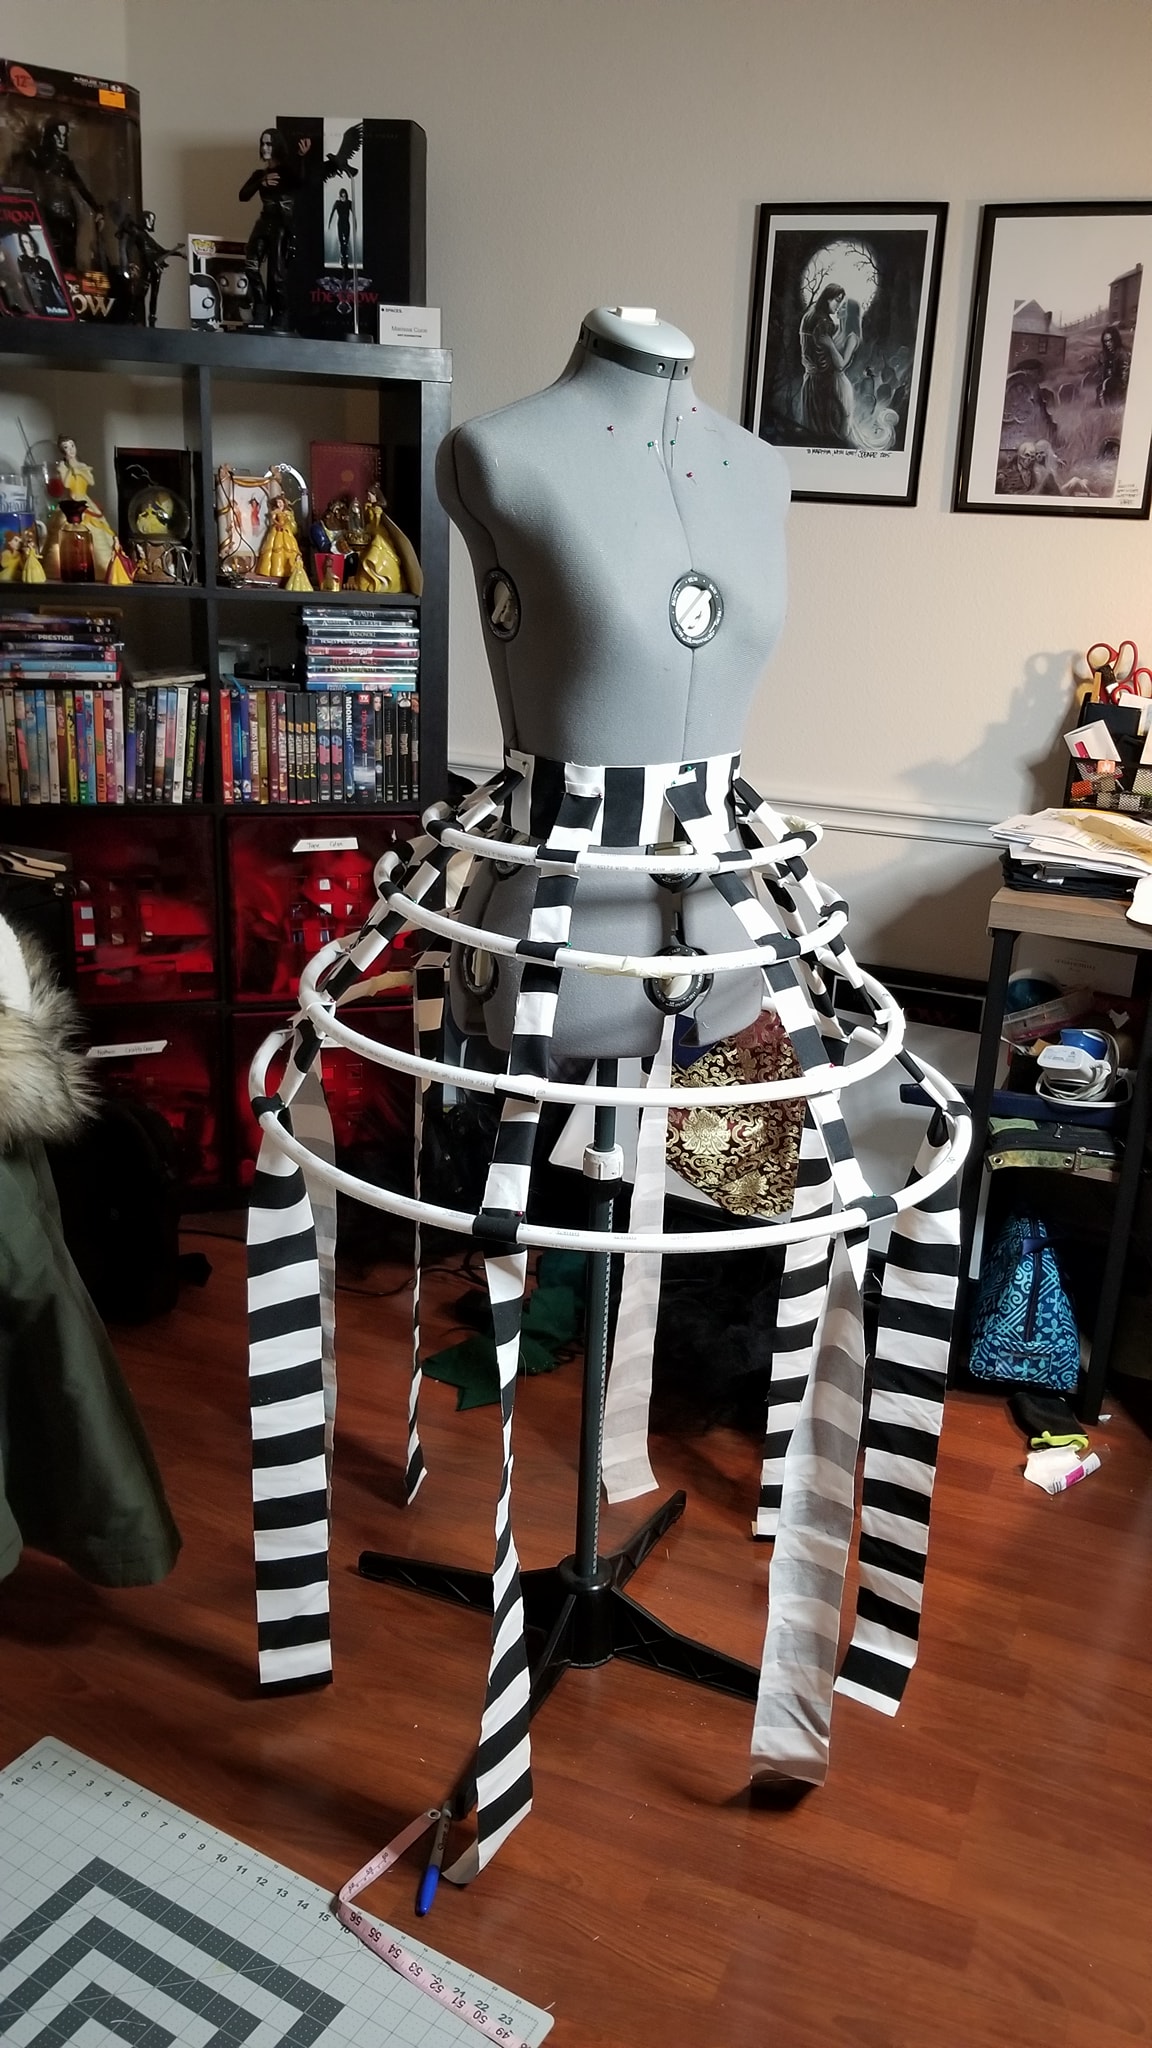

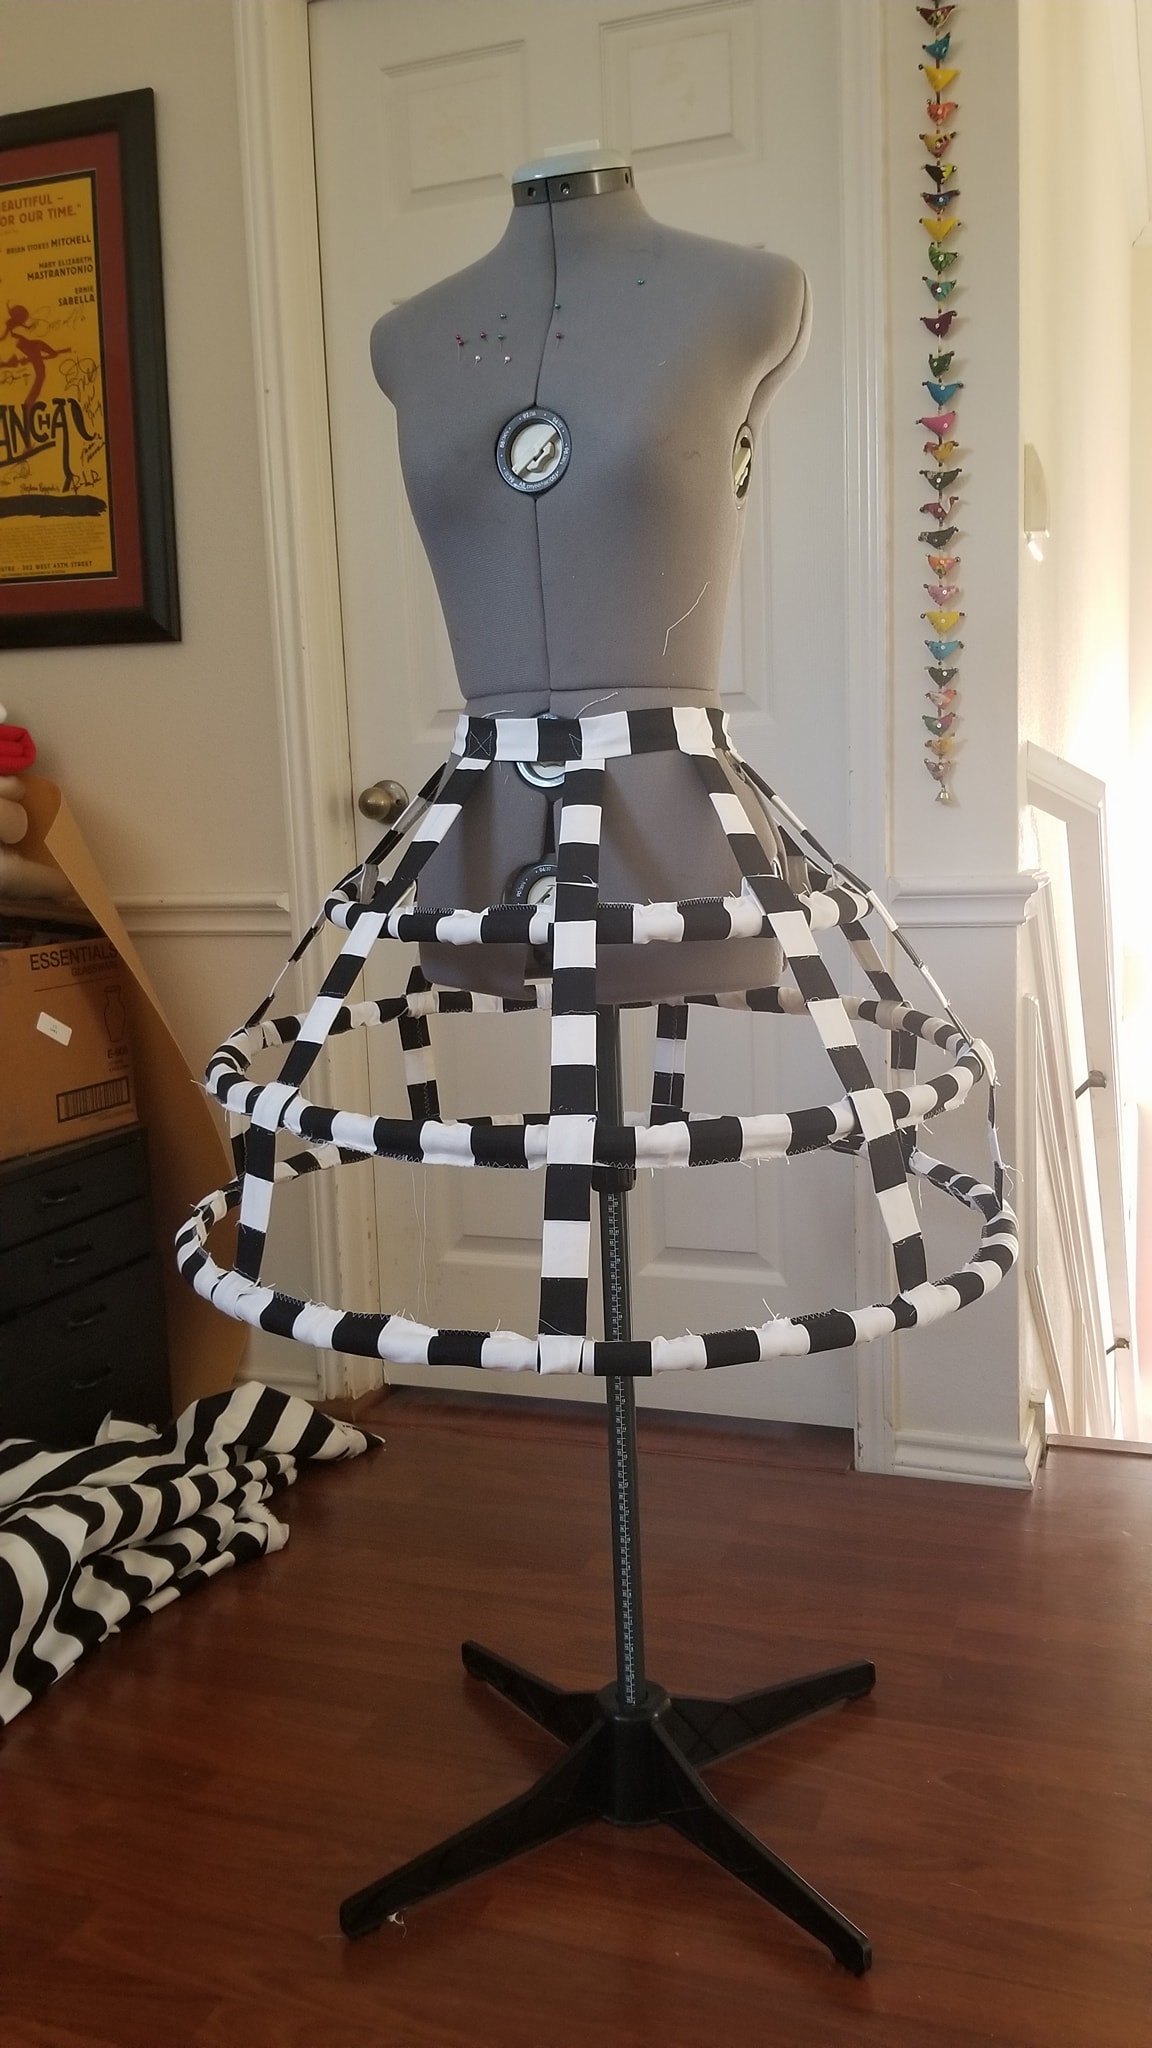

I picked up a roll of PEX tubing at Home Depot because I wanted something lightweight and supportive and it gave me zero problems. I used wooden dowels to connect the ends of the tubes together and wrapped that spot in a few wraps of duct tape. I had a bunch of striped cotton duck that I was saving for a Beetlejuice costume, but decided it would be good for this project too, as I needed something durable to hold the hoops and support the weight of the skirts. My first design was designed for four hoops, but I took out one and it helped a lot. My final hoop lengths were 88-82-57”, and my waistband was 28”. It was pretty comfy! Then I started experimenting with the petticoat and ended up doing two layers of 5’ organza gathered onto the cotton yoke. I need to revisit this and add in a few more petti layers.
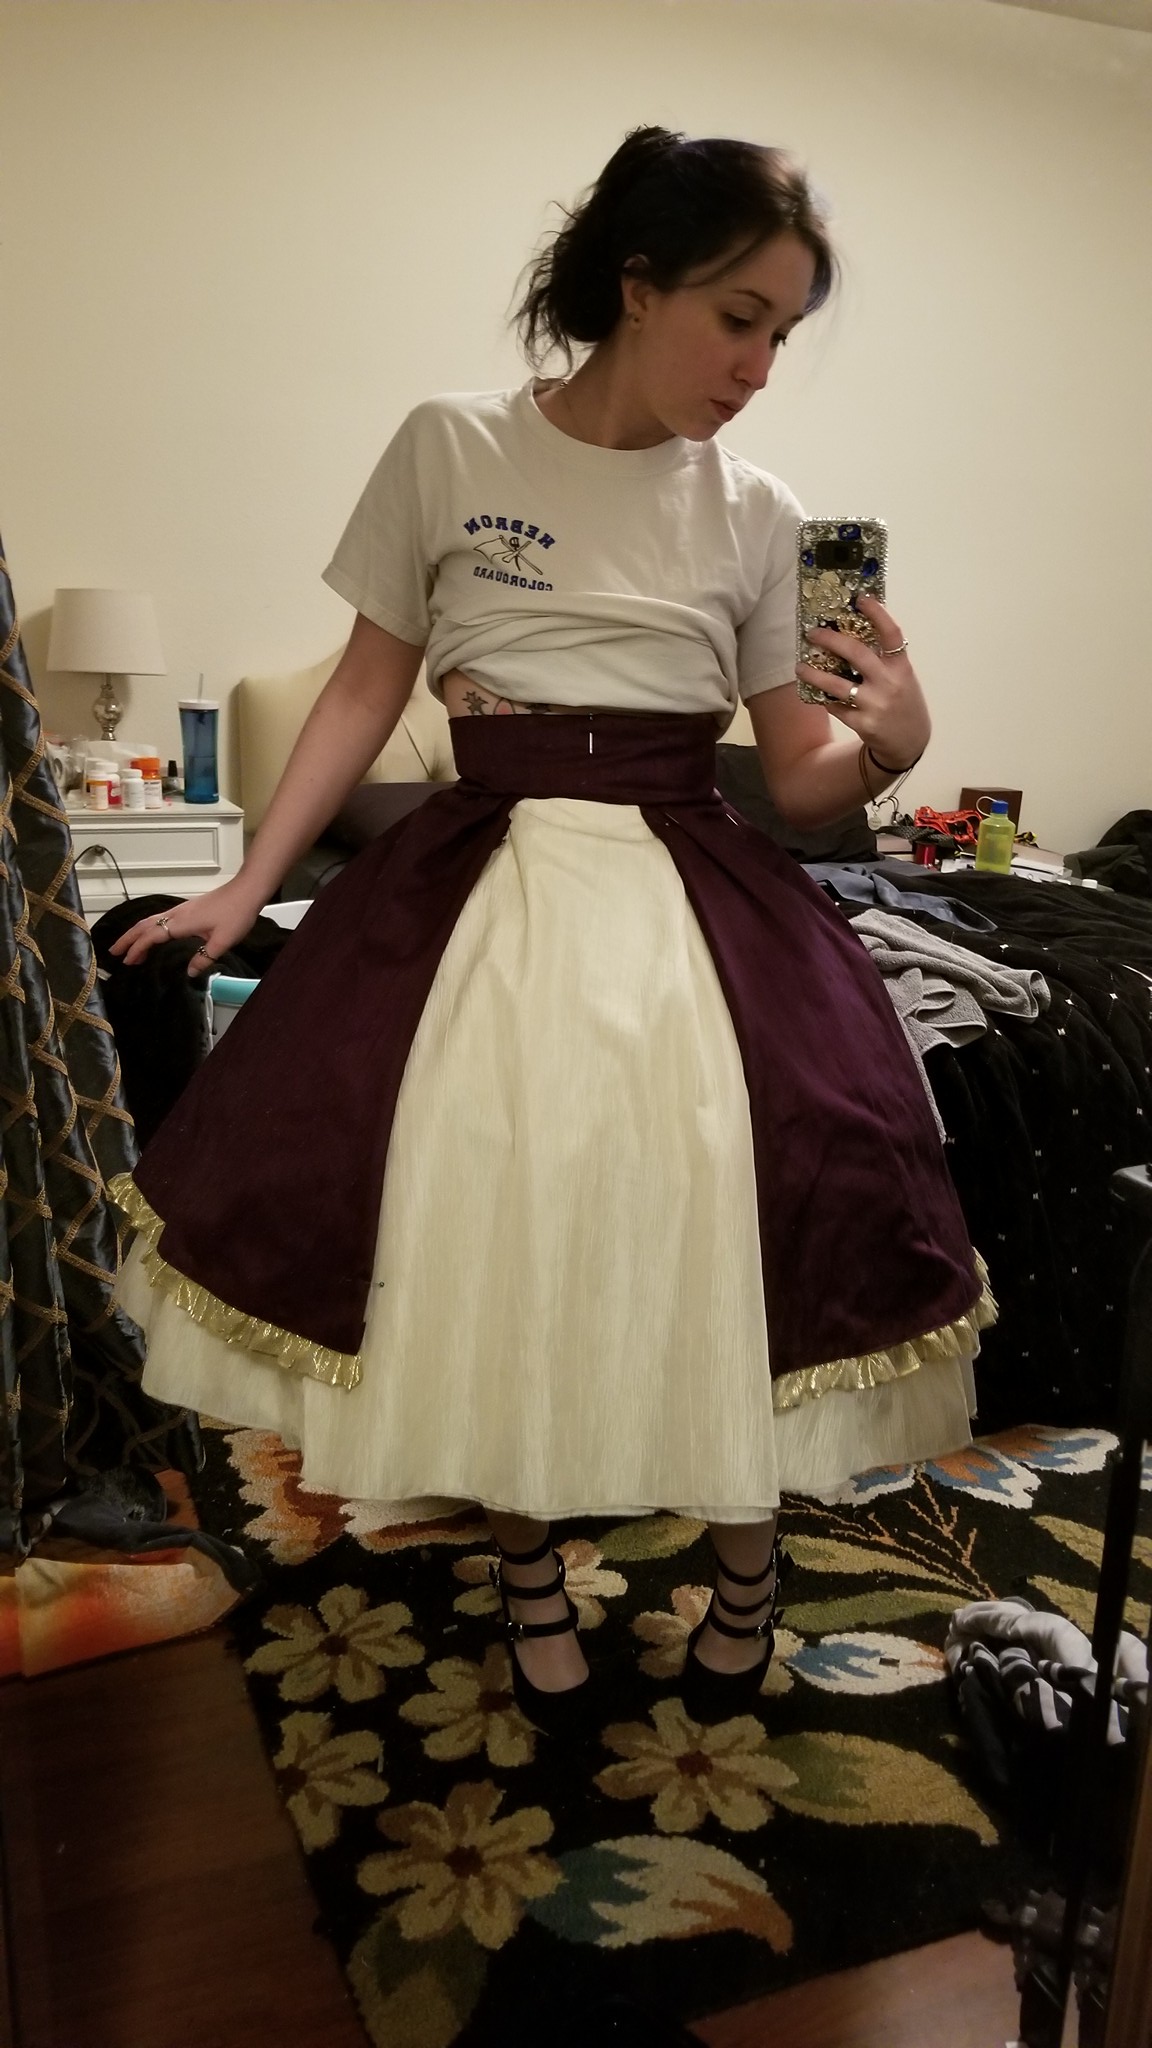
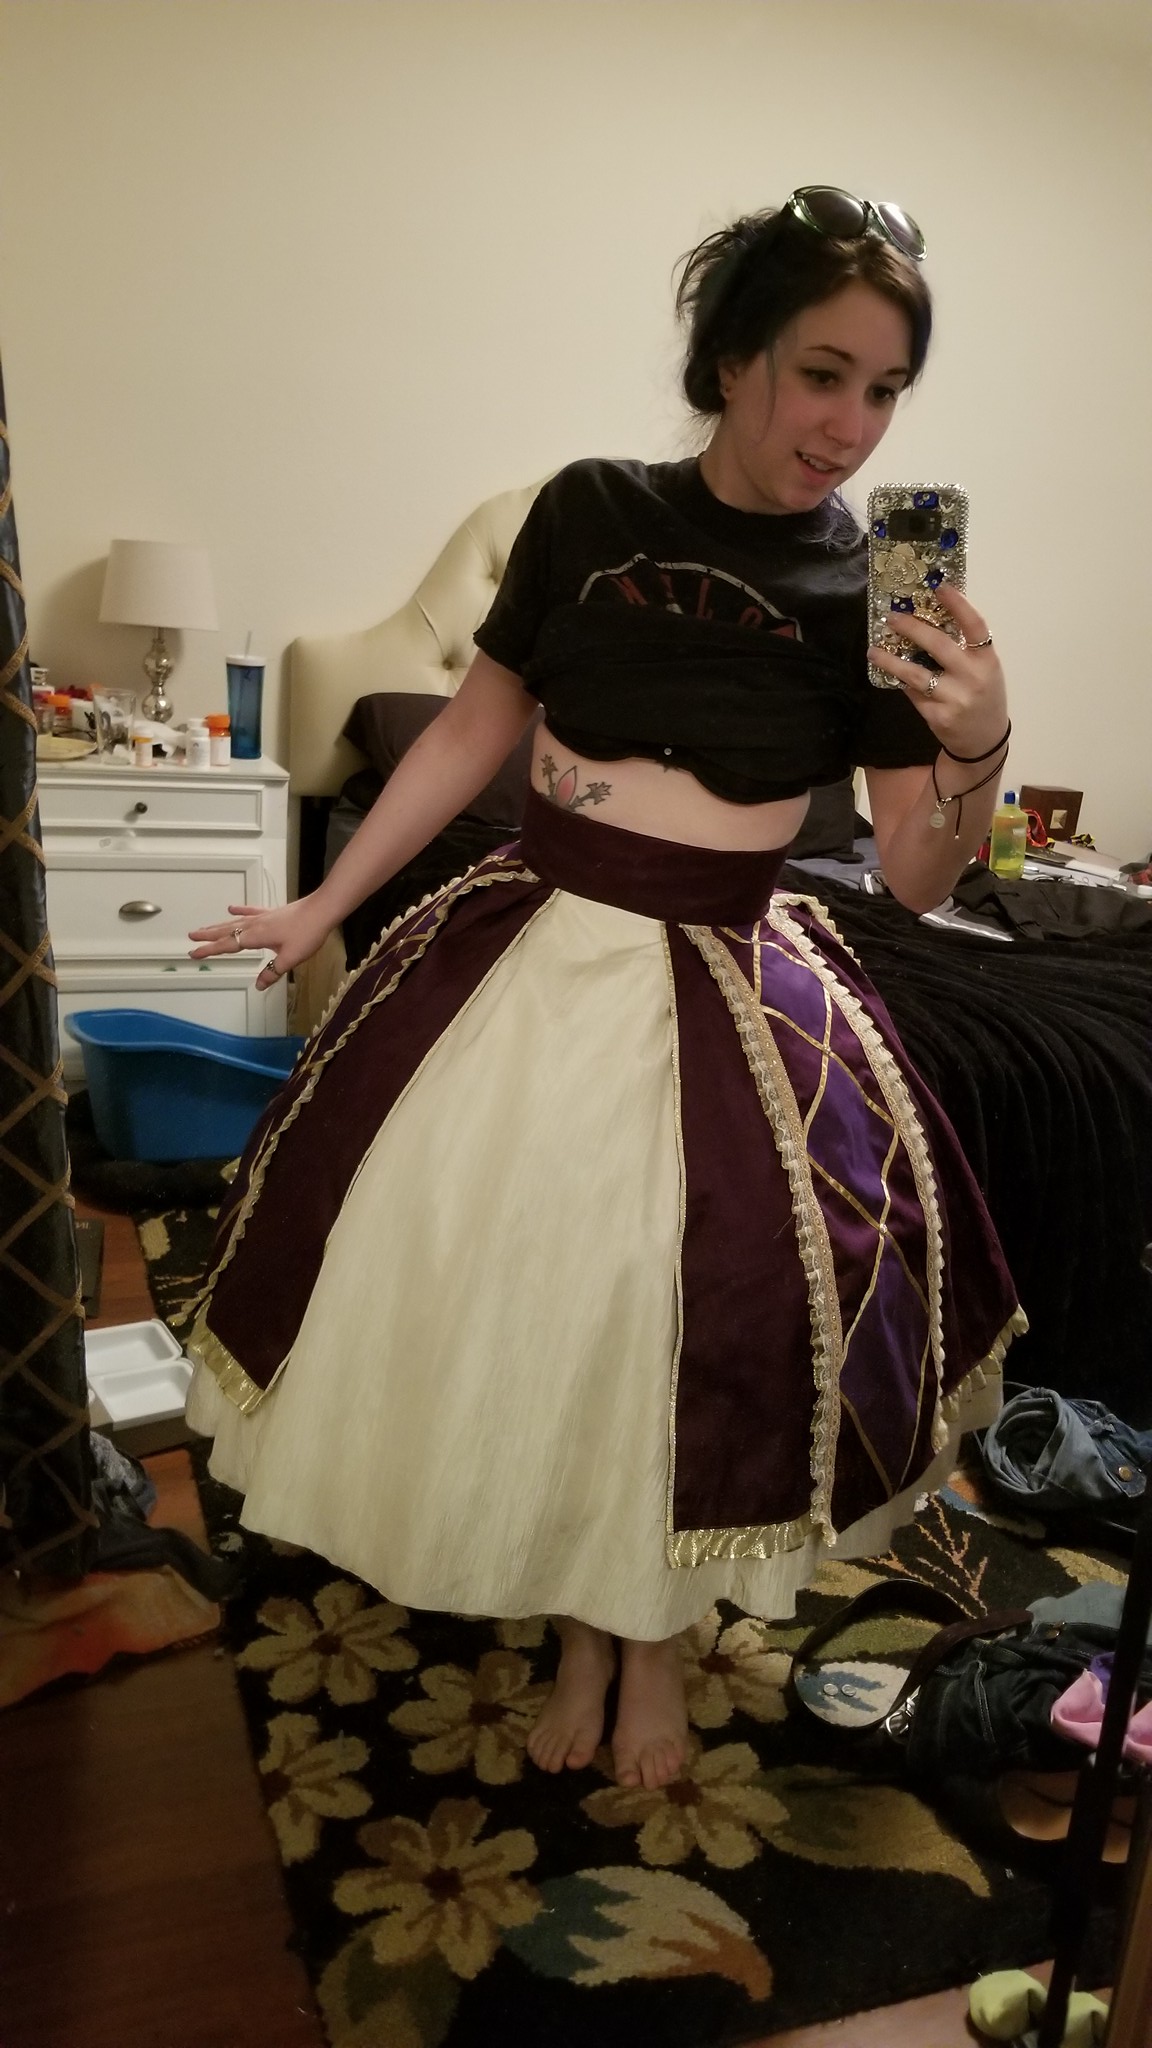
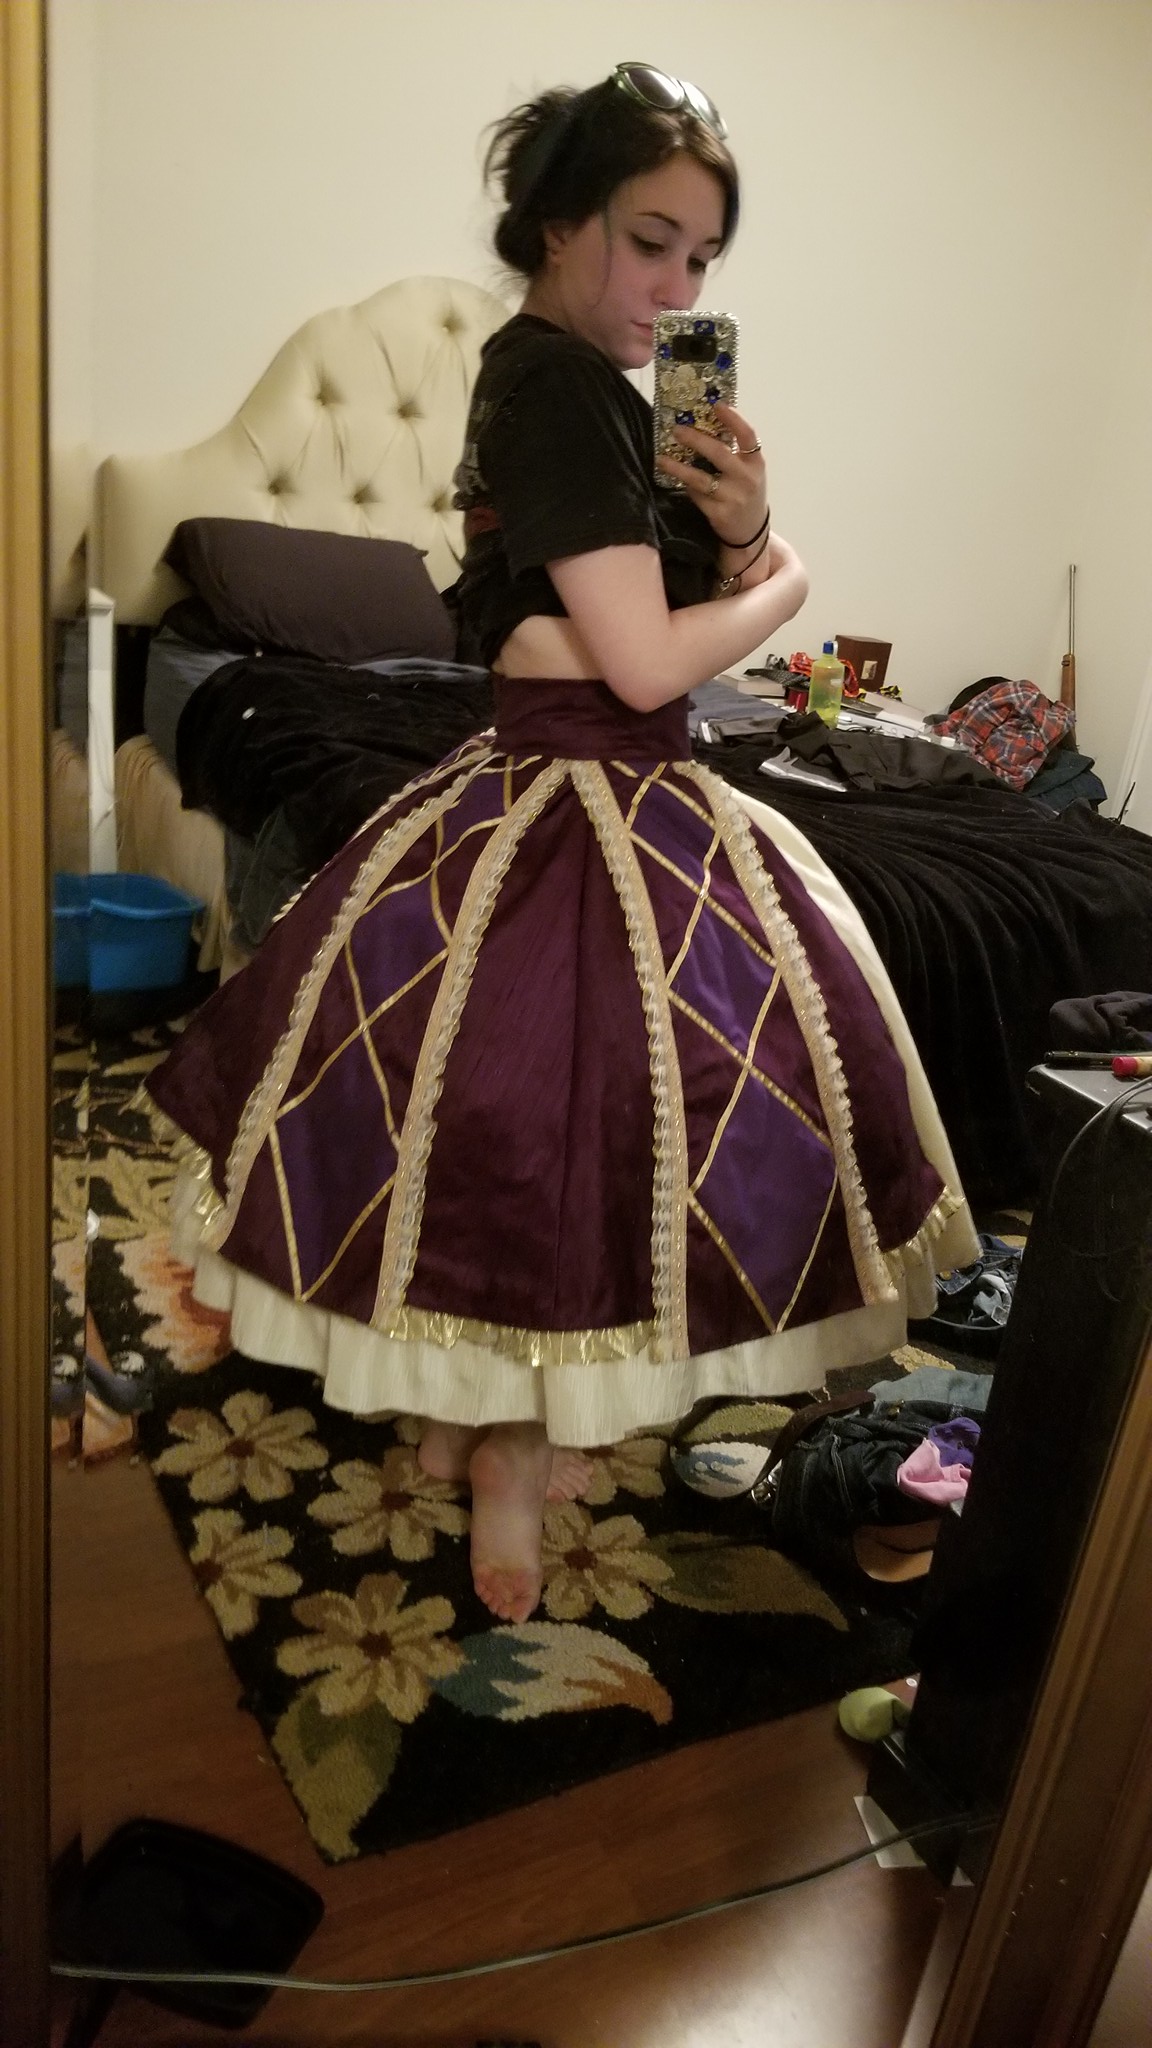
Next up was the skirt! I used silk lined with black cotton for the top skirt and the bottom skirt was a layer of ivory cotton with this ivory crinkle polyester on top. At this point I left the ivory underskirt alone to focus on the overskirt, and I need to revisit it soon. I made four “tabs” that taper out slightly toward the hem using cotton and silk, trimmed with this amazing lace and organza trim from France and top stitched with gold ribbon. I used these fun gold scrapbooking buttons as decorations. The skirt had the exact bell shape that I wanted! As with the underskirt, the overskirt is still in need of more accents and accessories, but I wanted to move onto the top.
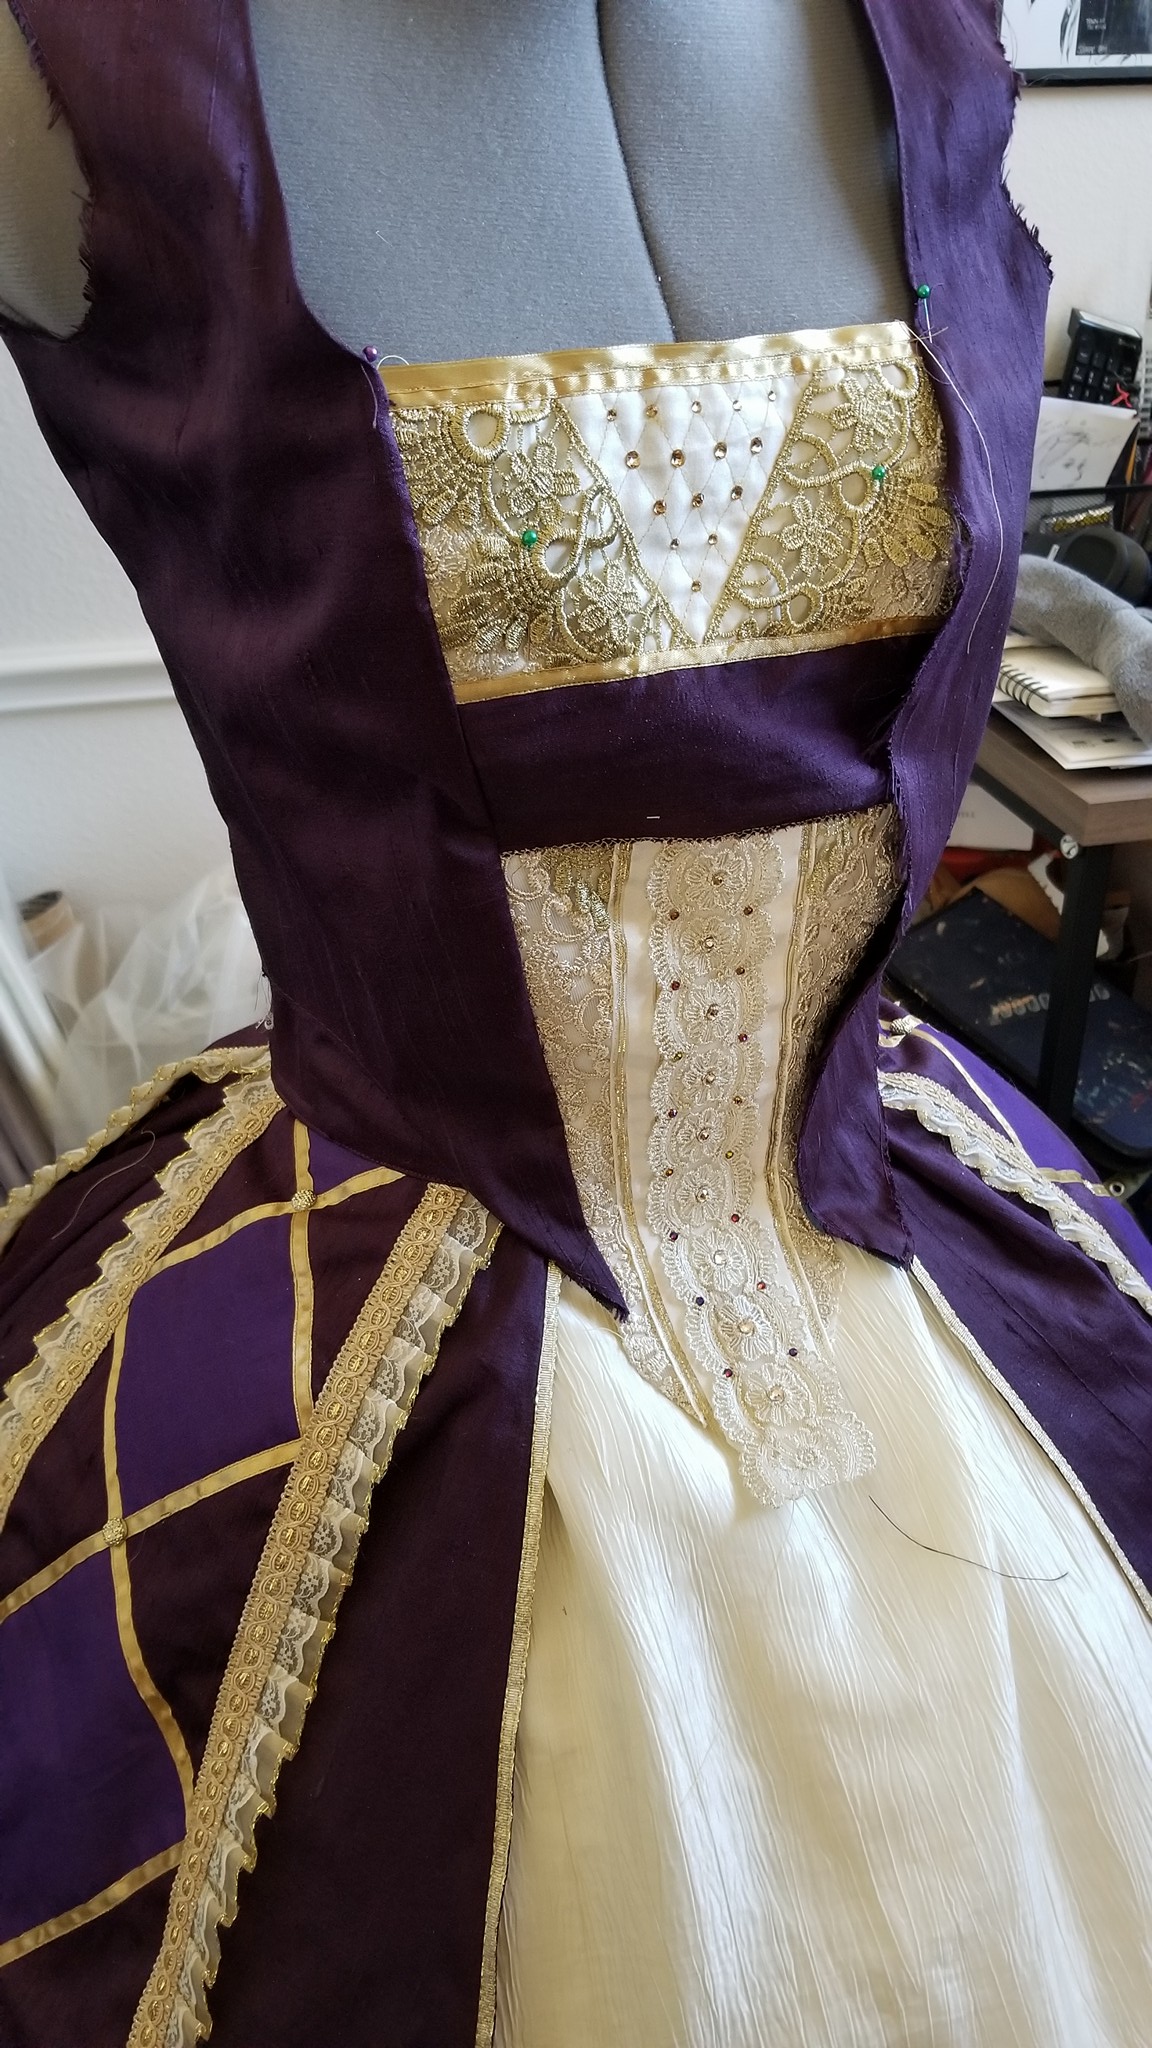
I 10000% did not want to use a zipper in this top, mostly for aesthetic reasons, also because I wanted to do it old school European style with a bodice that attached to the stomacher. In this case, my lace covered stomacher opens up on one side to be clipped into place using these wide, flat kind of hook-and-eye fasteners. It was a little tricky lining everything up, but the results are beautiful. The stomacher is boned.
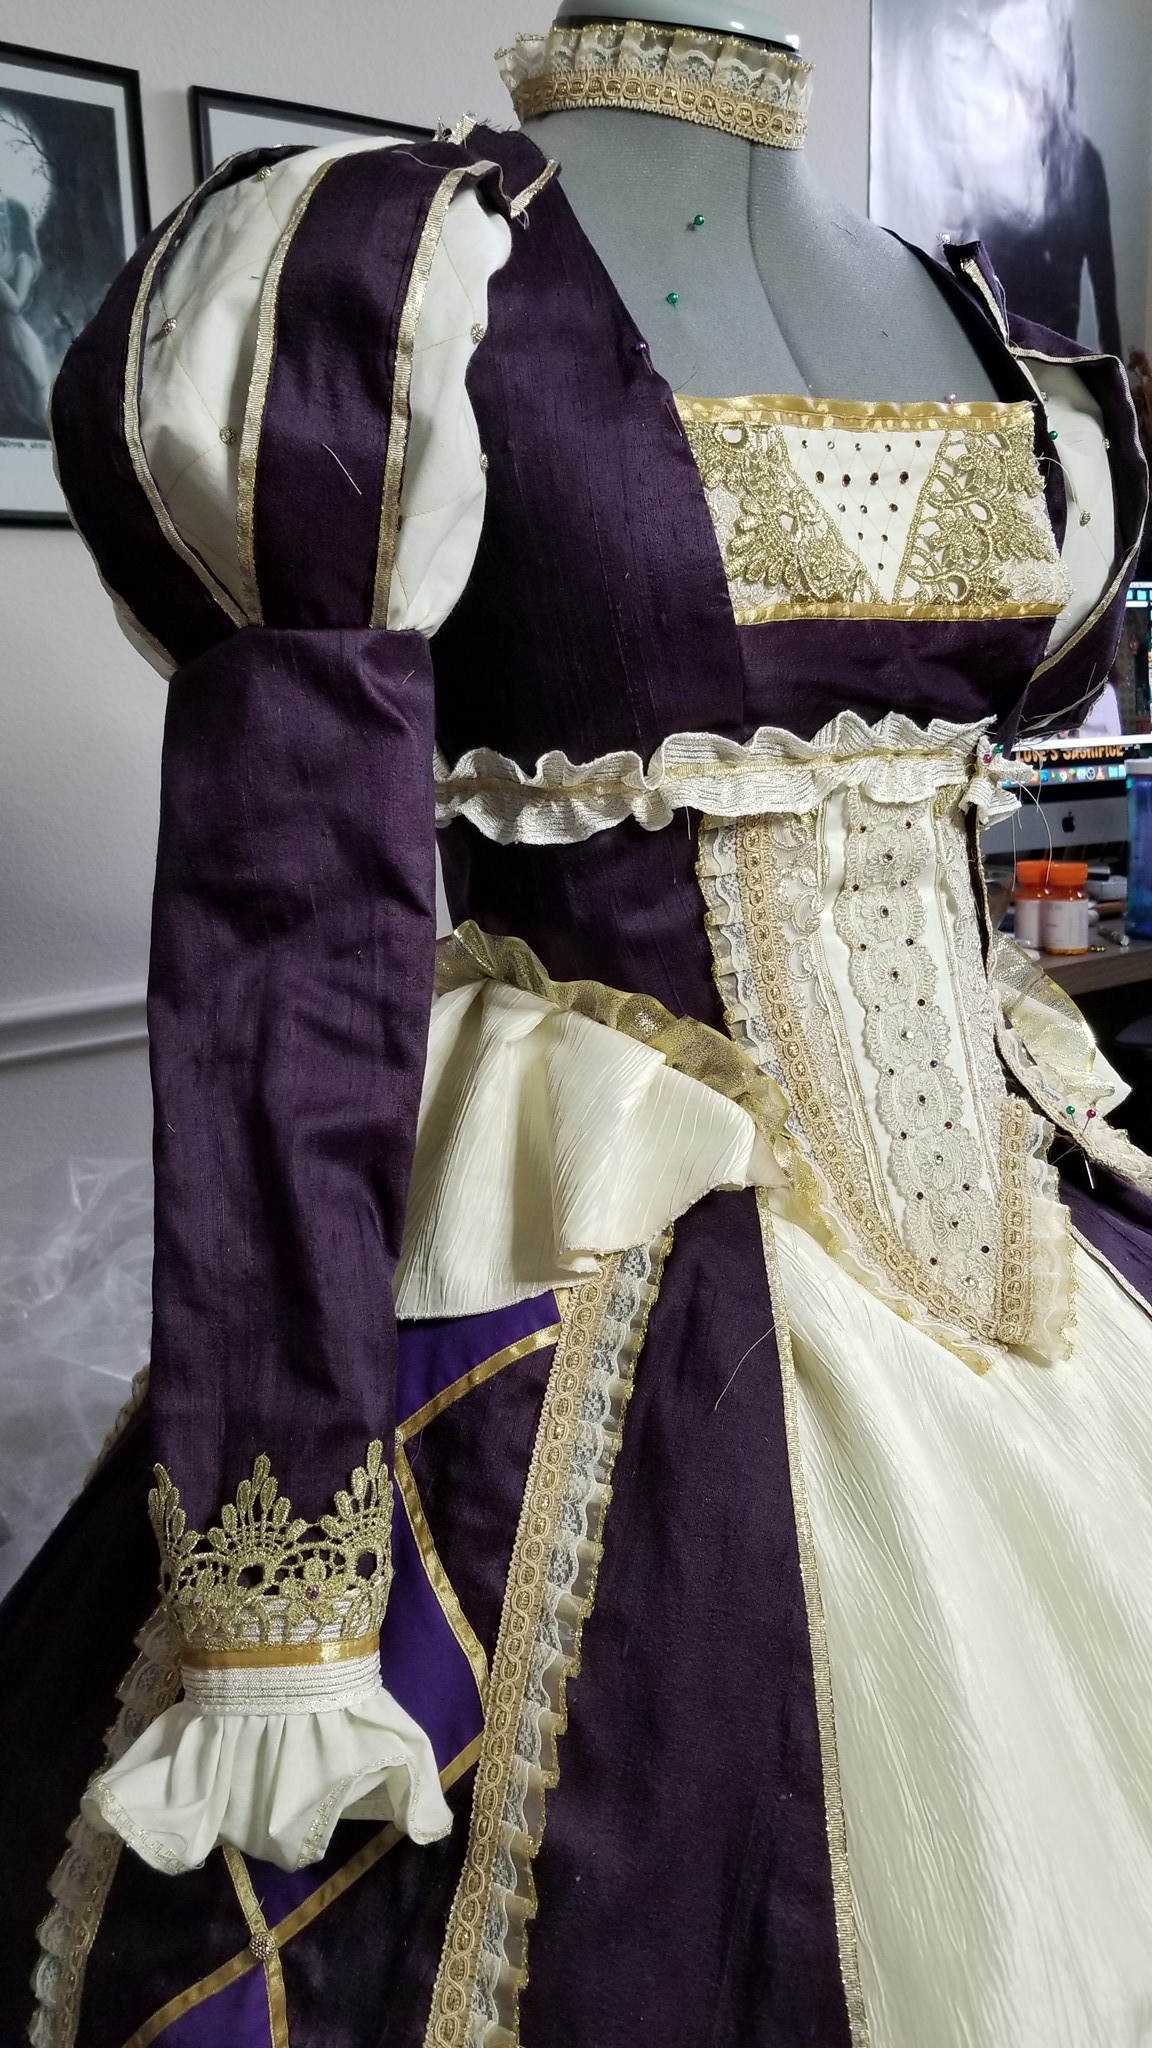
I had a lot of fun sewing down the different laces and ruffles. I could have used a hundred more Swarovski crystals! The bodice is missing some decorative flowers and large gems. For the puff sleeves, I followed the same method I did with my Madeliene costume and use medium weight interfacing on the ivory peekaboo fabric and decorated it with more scrapbooking buttons and some top stitching. The skinny part of the sleeve was a little tricky, mostly because I wanted it to be fitted but not too tight, all trimmed in more lace, ribbons, and crystals.

From Gothic Lolita Wigs
The wig was a little bit of a headache. Based on the art, it should be this really delicate silvery lavender and quite frankly, a unicorn as far as I could tell. I also really wanted that voluminous bump and decided to compromise with this incredibly tall wig from Gothic Lolita Wigs. It was a baby pink to white ombre that I lightly sprayed down with floral color spray, just enough to color it lavender but not enough to make it too sticky and heavy. It’s still a bit more pink than I would like it, but I’m happy with the overall look.
As of March 2019, this costume is still technically unfinished, as I need to add a lot of little details to the skirt and bodice (silk flowers, crystals, beadwork, etc) as well as make the mask prop and finish out the headband to include the small nosed mask. I’m still very happy with it and am looking forward to finishing her off properly!
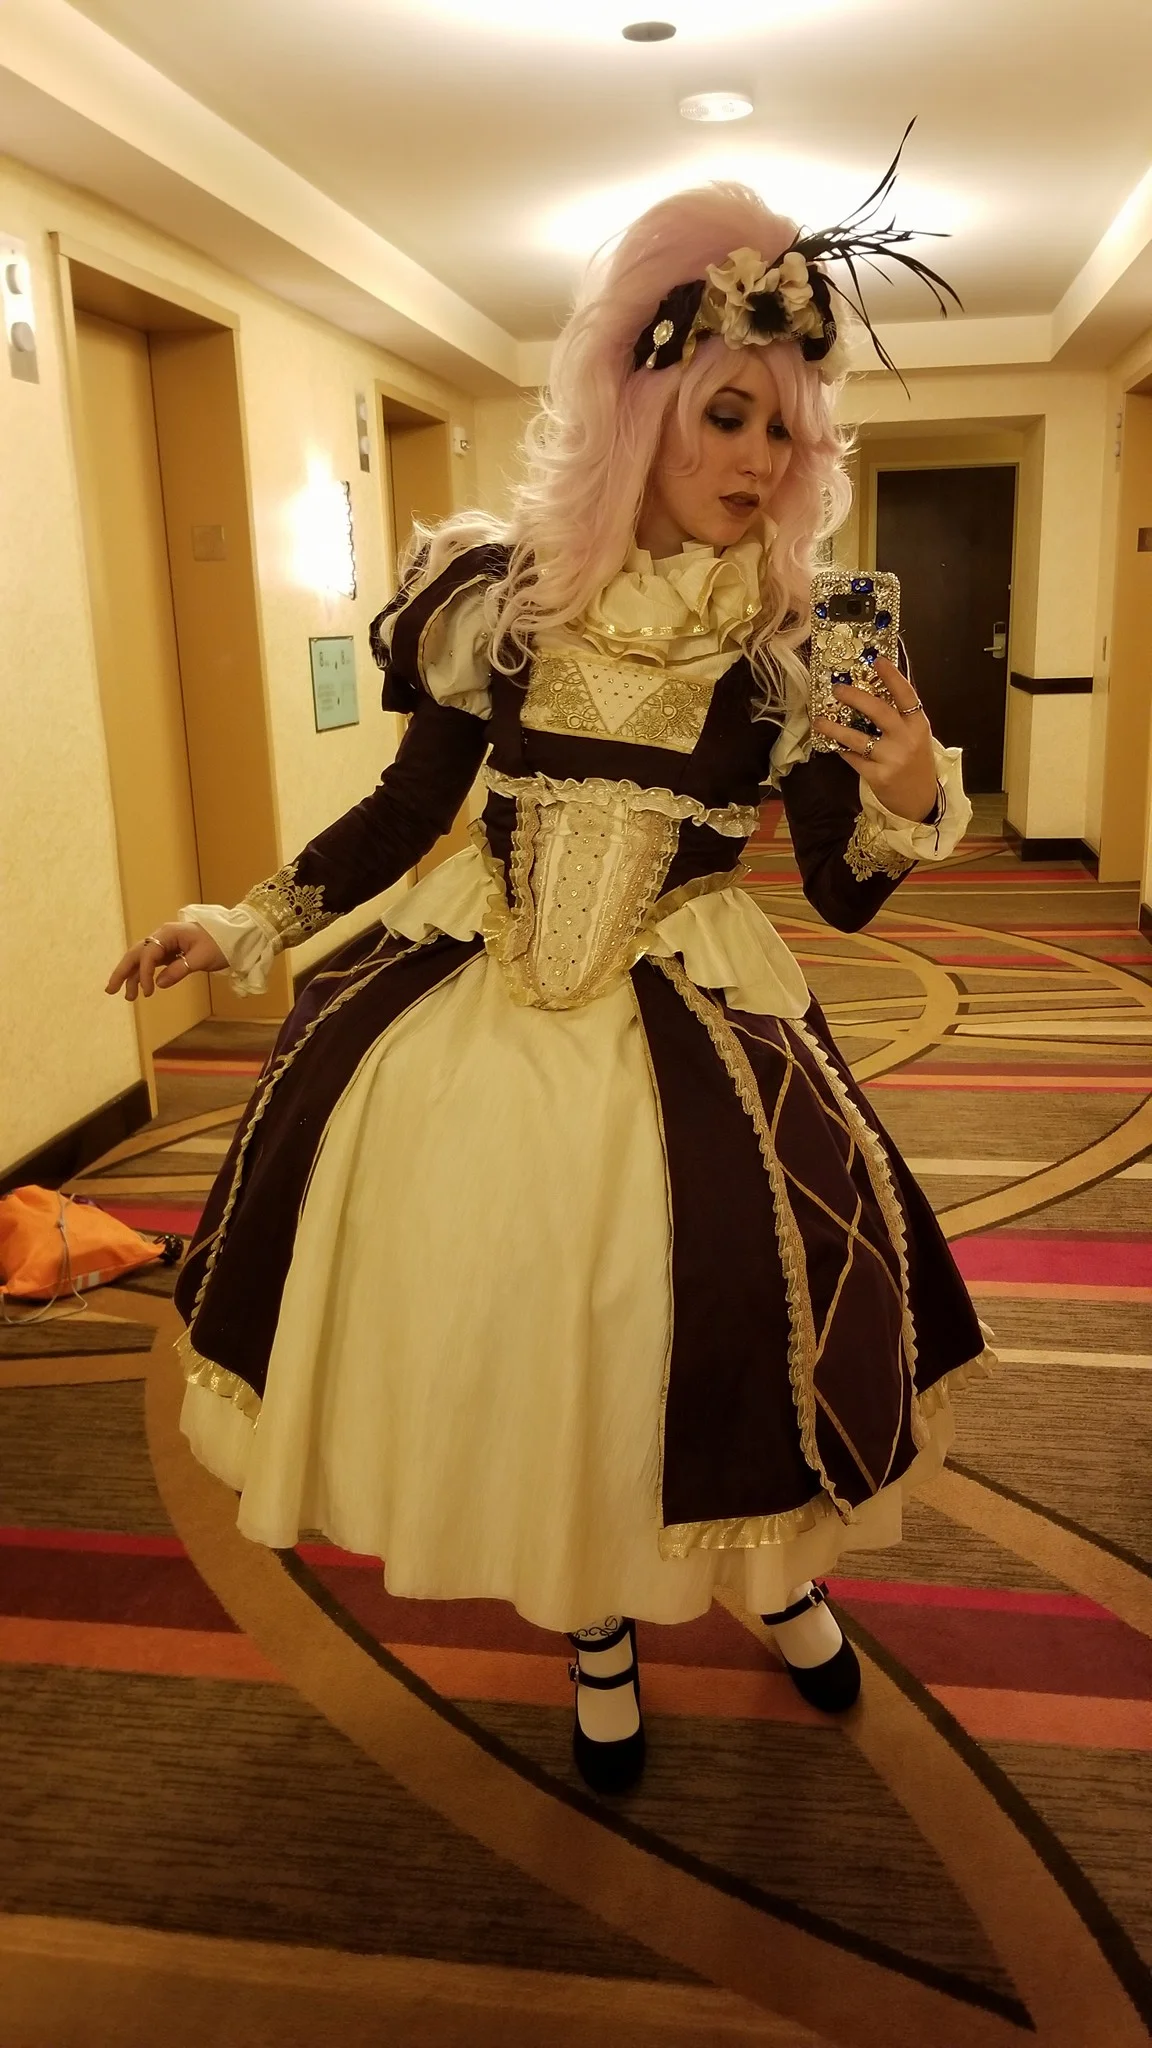
A little plain in the skirt still, but I’m happy with her so far :)